Dia de la Independencia en Mexico | History

September 16th is Mexico’s Independence Day! Yes, it’s true! You might be scratching your head because Cinco de Mayo is often confused with Mexico’s Independence Day here in the US, but hopefully if you’re reading this, this is the last time you’ll confuse the two.

I usually process history easier if I can clearly see a timeline of events so I’m going to give a super simple timeline so we can start seeing how history went down.

This is a statue of Miguel Hidalgo in front the church where he gave his passionate speech to call people to rise against Spanish rule.

This is a statue of Miguel Hidalgo in front the church where he gave his passionate speech to call people to rise against Spanish rule.

1400-1600 - European explorers made their way to the what is known as North & South America along with surrounding islands.

1492 - Colombus sailed to what is at present day known as the US.

1519 - Hernán Cortéz of Spain arrives in present day Mexico to begin his conquest of the Aztec Empire.

1776 - Declaration of Independence published in the US.

1810 - After 300 years, Miguel Hidalgo gave a powerful speech to spur the rally to rise against the Spanish rule. Known as “El Grito”.

1821 - Treaty of Cordoba was signed ending the war with Spain, But this was just the continuation of Mexico’s road to independence.

1836 - Spain finally recognizes The Independence of the Mexican Empire, with the signing of the Santa Maria-Calatrava Treaty

1862 - Mexico’s victory over France in the French-Mexican War in Puebla (known as Cinco de Mayo).

In Mexico the celebrations can start the weekend before Independence Day, but officially starting with “El Grito” on the evening of Sept 15th. The president will reenact Hidalgo’s cry that took place in 1810. While this year there will be minimal celebrations. Most people will be staying in and watching celebrations on TV from home.

I know this is a very simple version of the historical events leading to Mexico’s Independence, but it’s a start. I’m learning alongside my kids when it comes to world history and am processing how historical events around the world have brought us to the present. Learning about European exploration, brings up so many feelings that take time to understand and process. I hope that as we learn, we have more conversations about how we can learn from the past and build a better society for the generations that follow.

Tortillas | Traditions

You guys! I learned how to make corn tortillas…that actually puff up! You might not think that it’s that big of a deal, but for me it is! I went to Oaxaca last year in November, and I took a cooking class from this wonderful family. We had the most amazing food, and one of the things that we made was tetelas. And for that you have to make a corn tortillas first. So when I came home, I went out to buy some masa, and borrowed my friend’s tortilla press.

In my attempts to make corn tortillas on my own, I failed many times. The masa (dough) would be too dry, too wet, they would come out too thick, they wouldn’t puff…etc. With each “failed” batch I made, I tried something different and got closer to making them right. This weekend, I finally got the right consistency, AND that nice puff. I’m still learning to get the tortillas consistent, but I call this a win.

Why is this so important to me?

Food is such an important part of a culture. Learning how to make Mexican food has been a way for me to draw closer to my Mexican roots. I didn’t grow up with anyone passing down family recipes (other than a few staples), so I’ve had to research and experiment on my own, so I CAN pass things down to my children.

It’s also so fun, for my family to get excited for me when I succeed. Now they prefer homemade tortillas to store bought ones, and my batch of 16 is usually gone in one sitting. Everything I learned about making corn tortillas I googled. I pulled from different resources until I found what worked for me. So I’ll share some tips.

Ingredients:

1 1/2 cup Maseca

1 1/4 cup Water

You’ll also need:

Plastic tortilla sheets OR a plastic baggie

And a tortilla press OR a pie dish or something to press the masa with

IMG_6194.JPG

You pretty much just mix these two ingredients for 16 tortillas. But here are some tips that have helped me to get mine to puff up.

  • I have a metal tortilla press, so I don’t push very hard and only press once per tortilla.

  • Before I peel the plastic off of the raw tortilla, I run my hand over the plastic. Then I peel the plastic back, put the plastic back over the tortilla, flip it over, and do the same on the other side. This helps it not stick to the plastic.

  • I use a super hot griddle. I have it to the highest setting.

  • Once the tortilla starts to cook, about 30-45 seconds, I do the first flip.

  • I cook the tortilla a little longer, and then flip again.

  • If the tortilla isn’t puffing up after a few seconds after the second flip, I apply a little bit of pressure on the tortilla with my spatula. I might flip again and apply pressure if it’s still not puffing.

I’ve learned that cooking is an art, and with any art, when you’re learning how to use your tools and materials, you’ll get some mess ups along the way. So be patient. And feel free to reach out if you have any questions.

IMG_6192.JPG
IMG_6193.JPG
IMG_6195.JPG

The kids love having tacos or quesadillas. Today, I had my tortillas with some eggs and arroz and salsa roja.


SIGN UP

Join the mailing list to be the first to know when there's a new collection launch, exclusive promotions, blog posts, and to get a behind-the-scenes look as Karina travels to capture work for new print offerings. Plus I share a new downloadable calendar each month for your desktop & your phone as a thank you for following along. Don’t miss out!

Recipe | Easiest Tequila Drinks: Paloma & Cantarito

I share my go-to tequila drink almost every week on Instagram, so I thought I would make it official by sharing it on the blog!

First let’s talk about tequila:

I’ve heard so much negativity around tequila. I feel like everyone I’ve talked to has a “tequila story” which has now deterred them from drinking it altogether. Let me just say, I’ve been there. I have a tequila story. However, it’s because we were drinking it all wrong! Tequila is a drink that is really meant to be enjoyed slowly, and for the taste.

First, let’s look at the history. Before distilling was introduced to Mexico in the 1600s, the sap from the agave plant was collected and fermented as a drink. This drink is called pulque, and was very popular before tequila. When the Spanish conquistadors ran out of their alcohol (brandy), they started distilling agave, introducing tequila. Tequila is a drink made specifically from the blue agave plant. Depending on the region, the taste can vary. Blue agave plants grown at higher altitudes are typically sweeter, and agaves grown in the low lands have a more herbaceous flavor. You might also be curious about where mezcal comes in. Mezcal is also made from the agave plant, but tequila comes specifically from the blue agave plant. Mezcal also goes through a cooking process which gives it a smoky flavor.

You may have noticed three different types of tequila when you are buying it at the store:

Blanco: A white, clear tequila that has been aged the least; typically less than two months.

Reposado: A tinted tequila that has been aged from two months to a year in an oak barrel.

Añejo: A rich tequila with a tinted brown color, that has been aged from one to three years in an oak barrel.

Tequila is a drink that can be enjoyed for the taste, notes of the aging, and the region it comes from. When you sip it slowly over ice, you can really taste the fullness of the tequila. Usually tequila blanco is used for cocktails. I personally tend to like a more robust flavor, and tequila reposado is a happy medium for the cocktails I make at home.

My go-to drinks when I’m out at a restaurant are a paloma or a cantarito. These drinks are SO good when good tequila is used and they have a nice cocktail mix to bring out the tequila flavor. Obviously restaurant cocktails can also have added sugar, so it’s not a good idea for my waistline to be drinking cocktails like that everyday, but I do like to enjoy tequila at the end of a day just like other people enjoy a glass of wine in the evening. So I have replicated my favorite cocktails at home without using sugary additives, but in a way I can enjoy the taste of the tequila with citrusy flavors.

If you want to try these drinks I make at home, all you’ll need is an orange, lime, grapefruit, and your favorite tequila to enjoy some low calorie cocktails at home.

Paloma Recipe

A paloma is a grapefruit-based drink usually made with Squirt. That’s how my father actually taught me how to drink tequila. A shot, and some squirt. I don’t drink squirt anymore though.

This is way I make it here at home:

  • half a grapefruit

  • half a lime

  • shot of tequila

  • sparkling water

Not many people have grapefruits hanging around, so you can totally just use grapefruit-flavored sparkling water. ;-)

Cantarito Recipe

If you want something a little fancier, or sweeter, you can add a half an orange to mimic a Cantarito

  • half a grapefruit, squeezed (or grapefruit flavored sparkling water)

  • half an orange, squeezed

  • half a lime, squeezed

  • shot of tequila

  • sparkling water

IMG_4946.JPG
Image-1-1.jpg
IMG_4947.JPG
IMG_4944.JPG

With either of these recipes, you can add a slice of the fruit to your drink as well, to feel like you got it straight from the bartender. My favorite tequila brand is FINO tequila. It is the smoothest I’ve had, and could sip it straight on the rocks. I like to play around with the fruit and the flavors with the different kinds of tequila I get. In my opinion the cocktail you make should compliment the tequila flavor, not over power it. When what you add to your drink overpowers the flavor of the tequila…that’s where you can get in trouble. ;-)

I’d love to hear if you make a tequila cocktail! And let me know what your favorite tequila brand is. Comment below if you end up trying your hand at some mixology.


SIGN UP

Join the mailing list to be the first to know when there's a new collection launch, exclusive promotions, blog posts, and to get a behind-the-scenes look as Karina travels to capture work for new print offerings. Plus I share a new downloadable calendar each month for your desktop & your phone as a thank you for following along. Don’t miss out!

Recipe | Churros

Ok, so one of my favorite desserts ever is churros. I’d say churros and conchas are my favs. Last year we celebrated Elias’ birthday in Mexico, and his only request was to have churros as the dessert rather than a cake. So we hired a churro bar and I’m pretty sure we all had like 5 churros each with different fillings. Since then, I’ve been wanting to figure out how to make churros. After several failed tries, I finally succeeded in making churros for the family! I have Ignacio Gutierrez to thank for the recipe. He came to our home last year to lead a workshop where he taught how to make pozole rojo, and churros. And now that we have more time at home, I decided to finally try making churros again using his recipe. I’m so glad I did, and now I hope you can enjoy churros at home too.

Gather Ingredients

1 cup milk

1 cup water

4 tbsp butter

2 cups flour

2 tbsp sugar

2 eggs (whisked)

1 tsp salt

Oil for frying

Cinnamon & sugar to roll churros in once fried.

churros-1.jpg
 

Now what?

1. Add milk, water, butter, and sugar in your pot. Heat and stir until smooth.

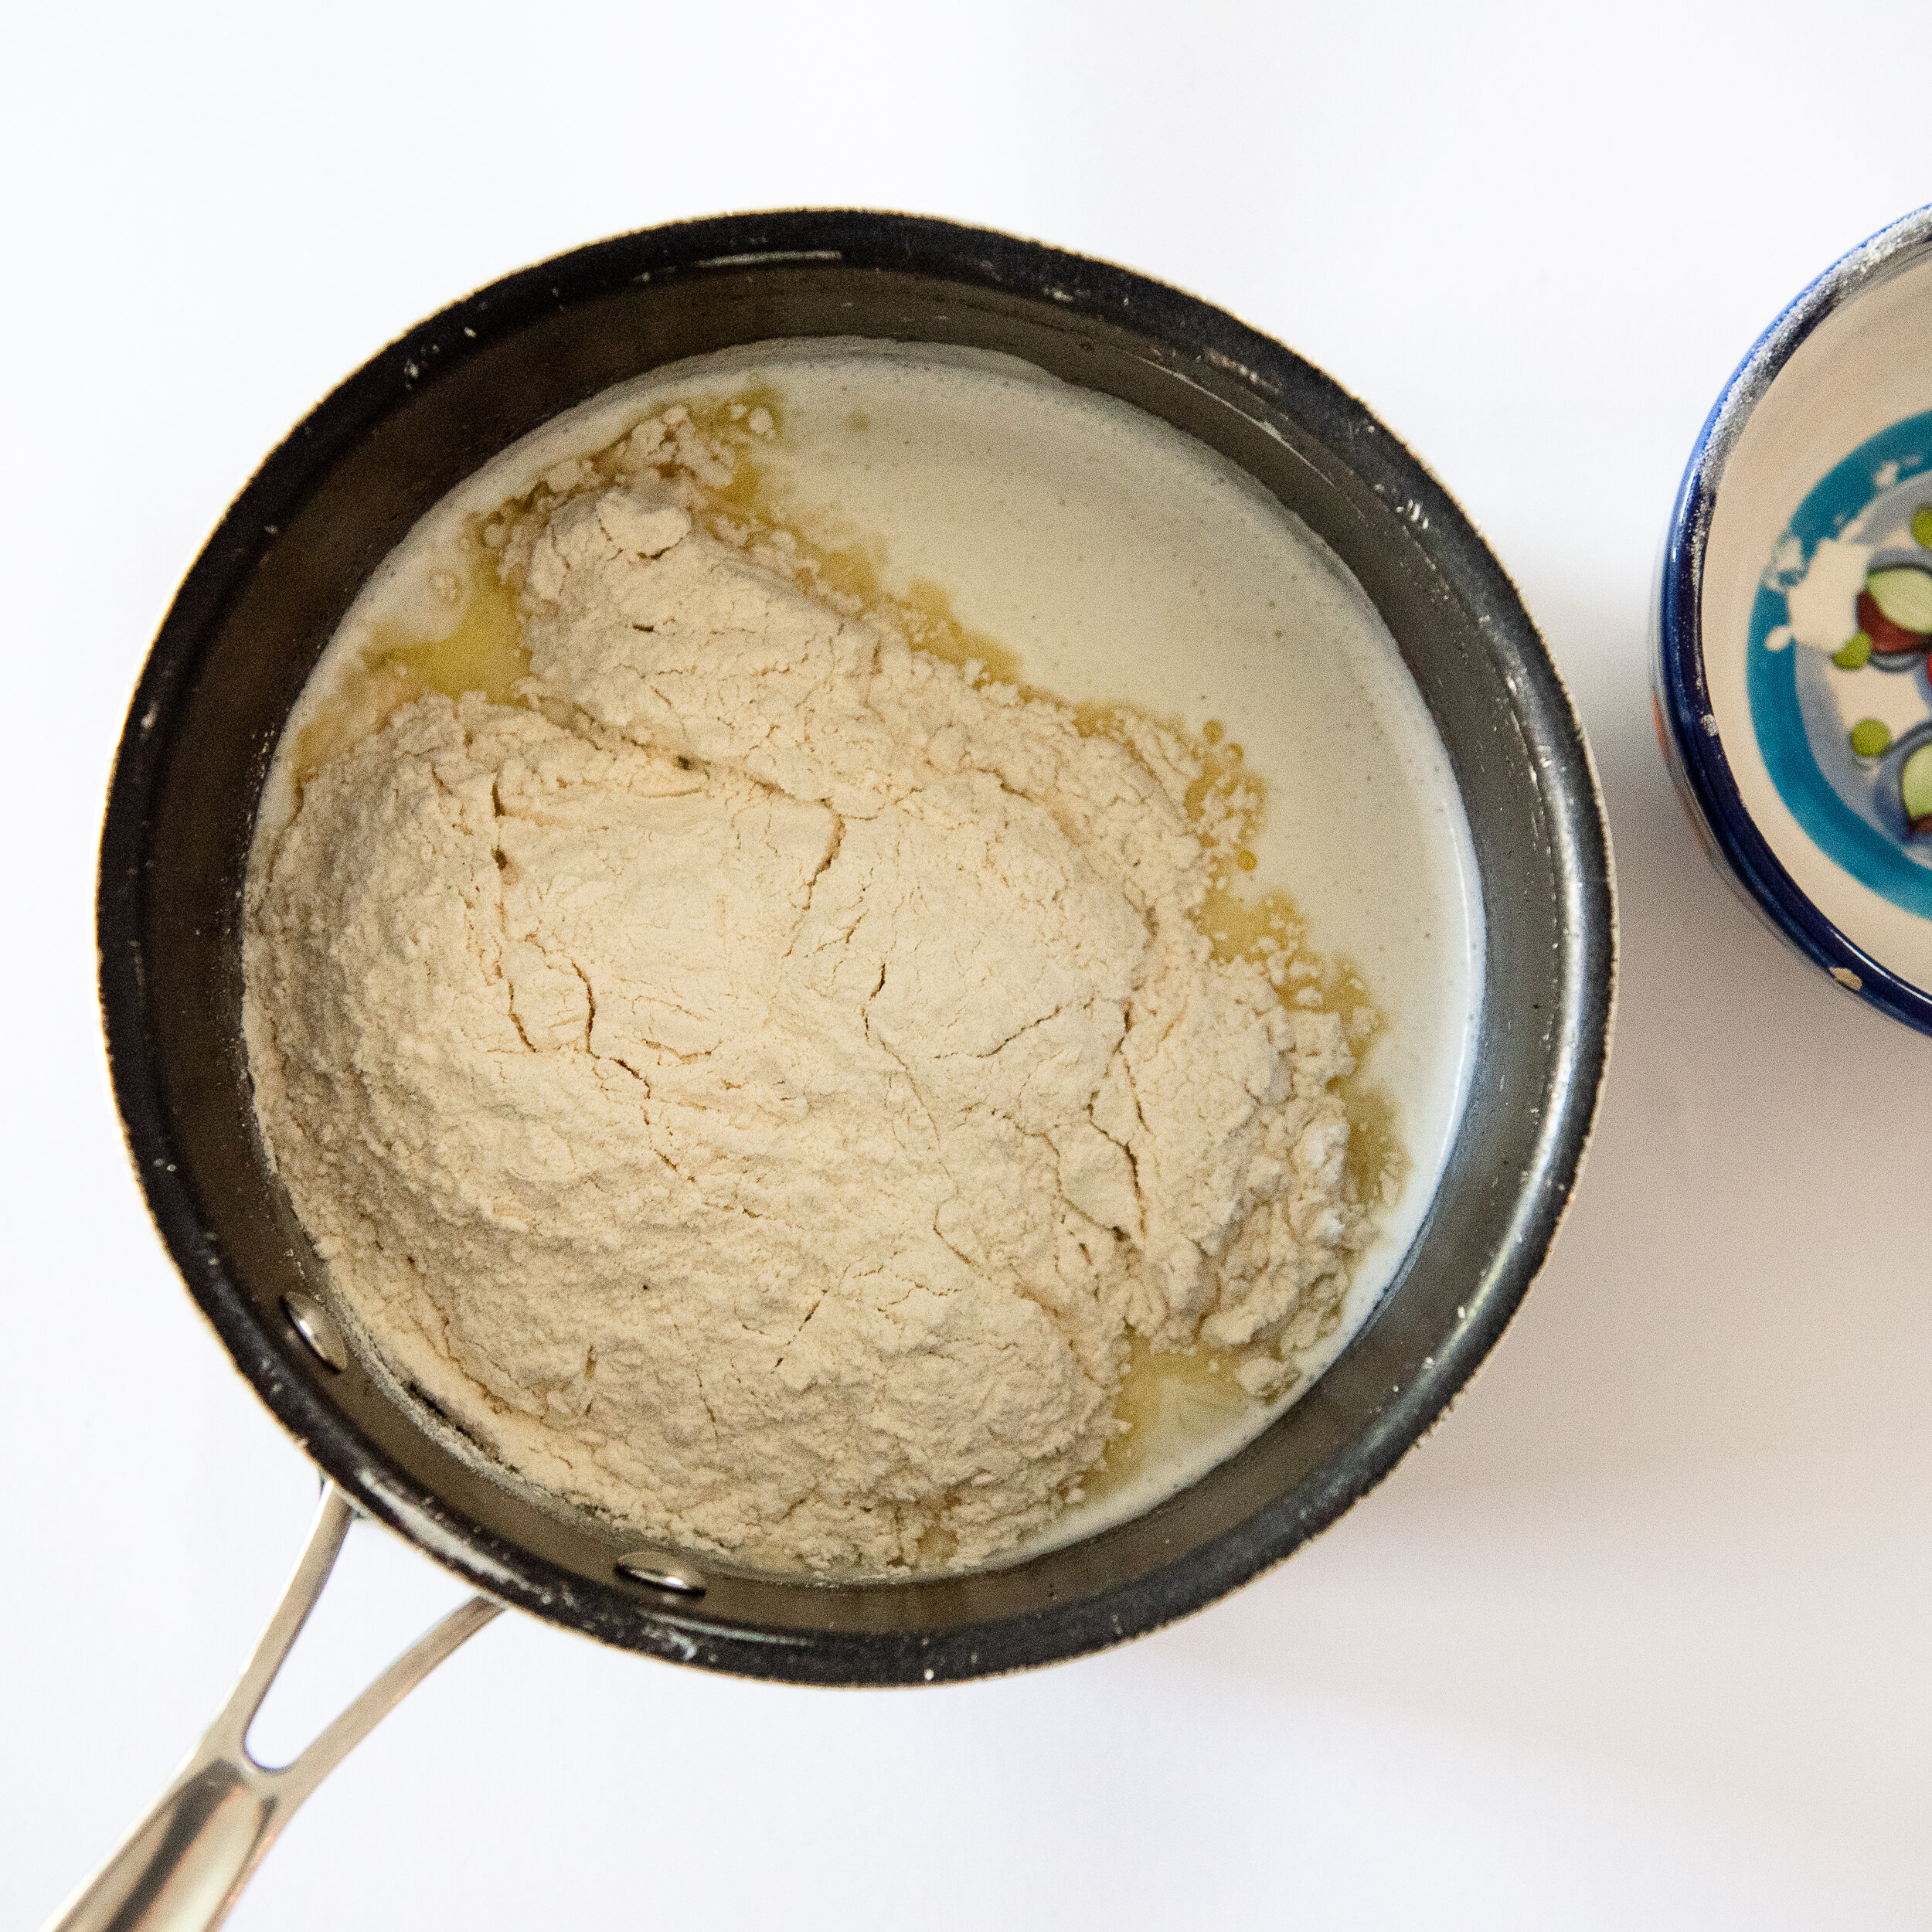
2. Once it’s boiling, add flour. With a wooden spoon begin to mix in until flour has fully absorbed liquids.

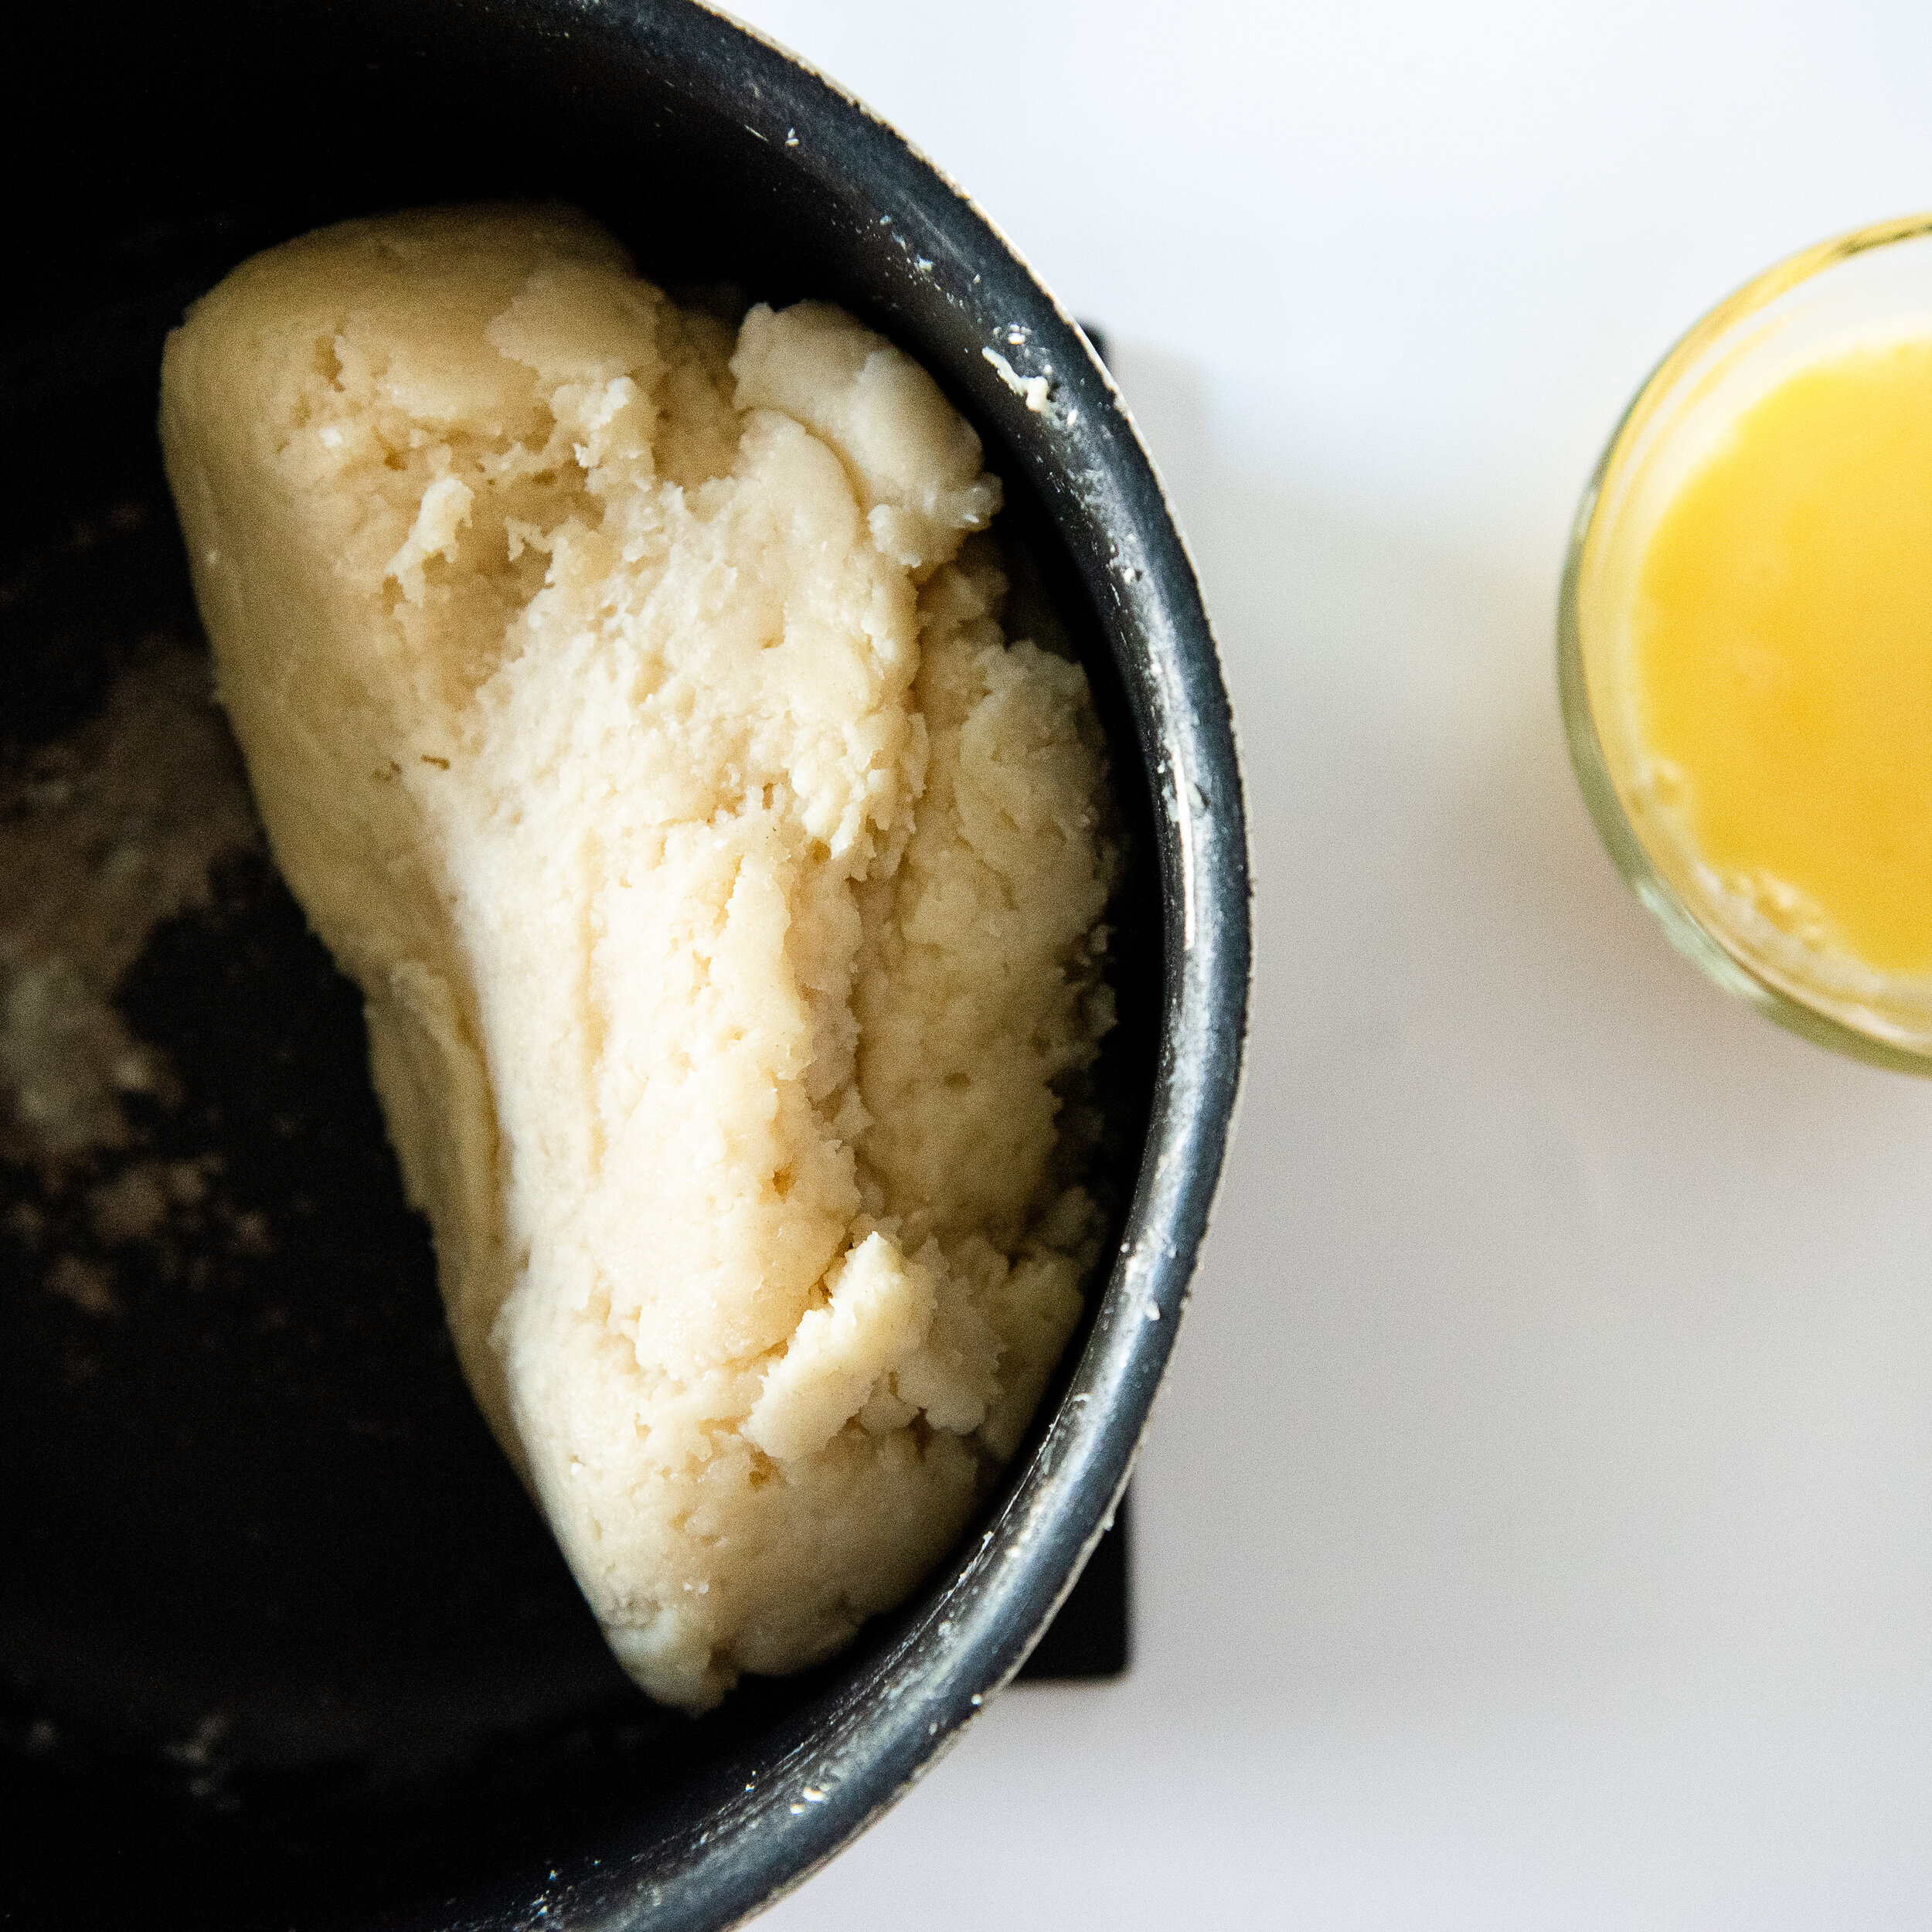
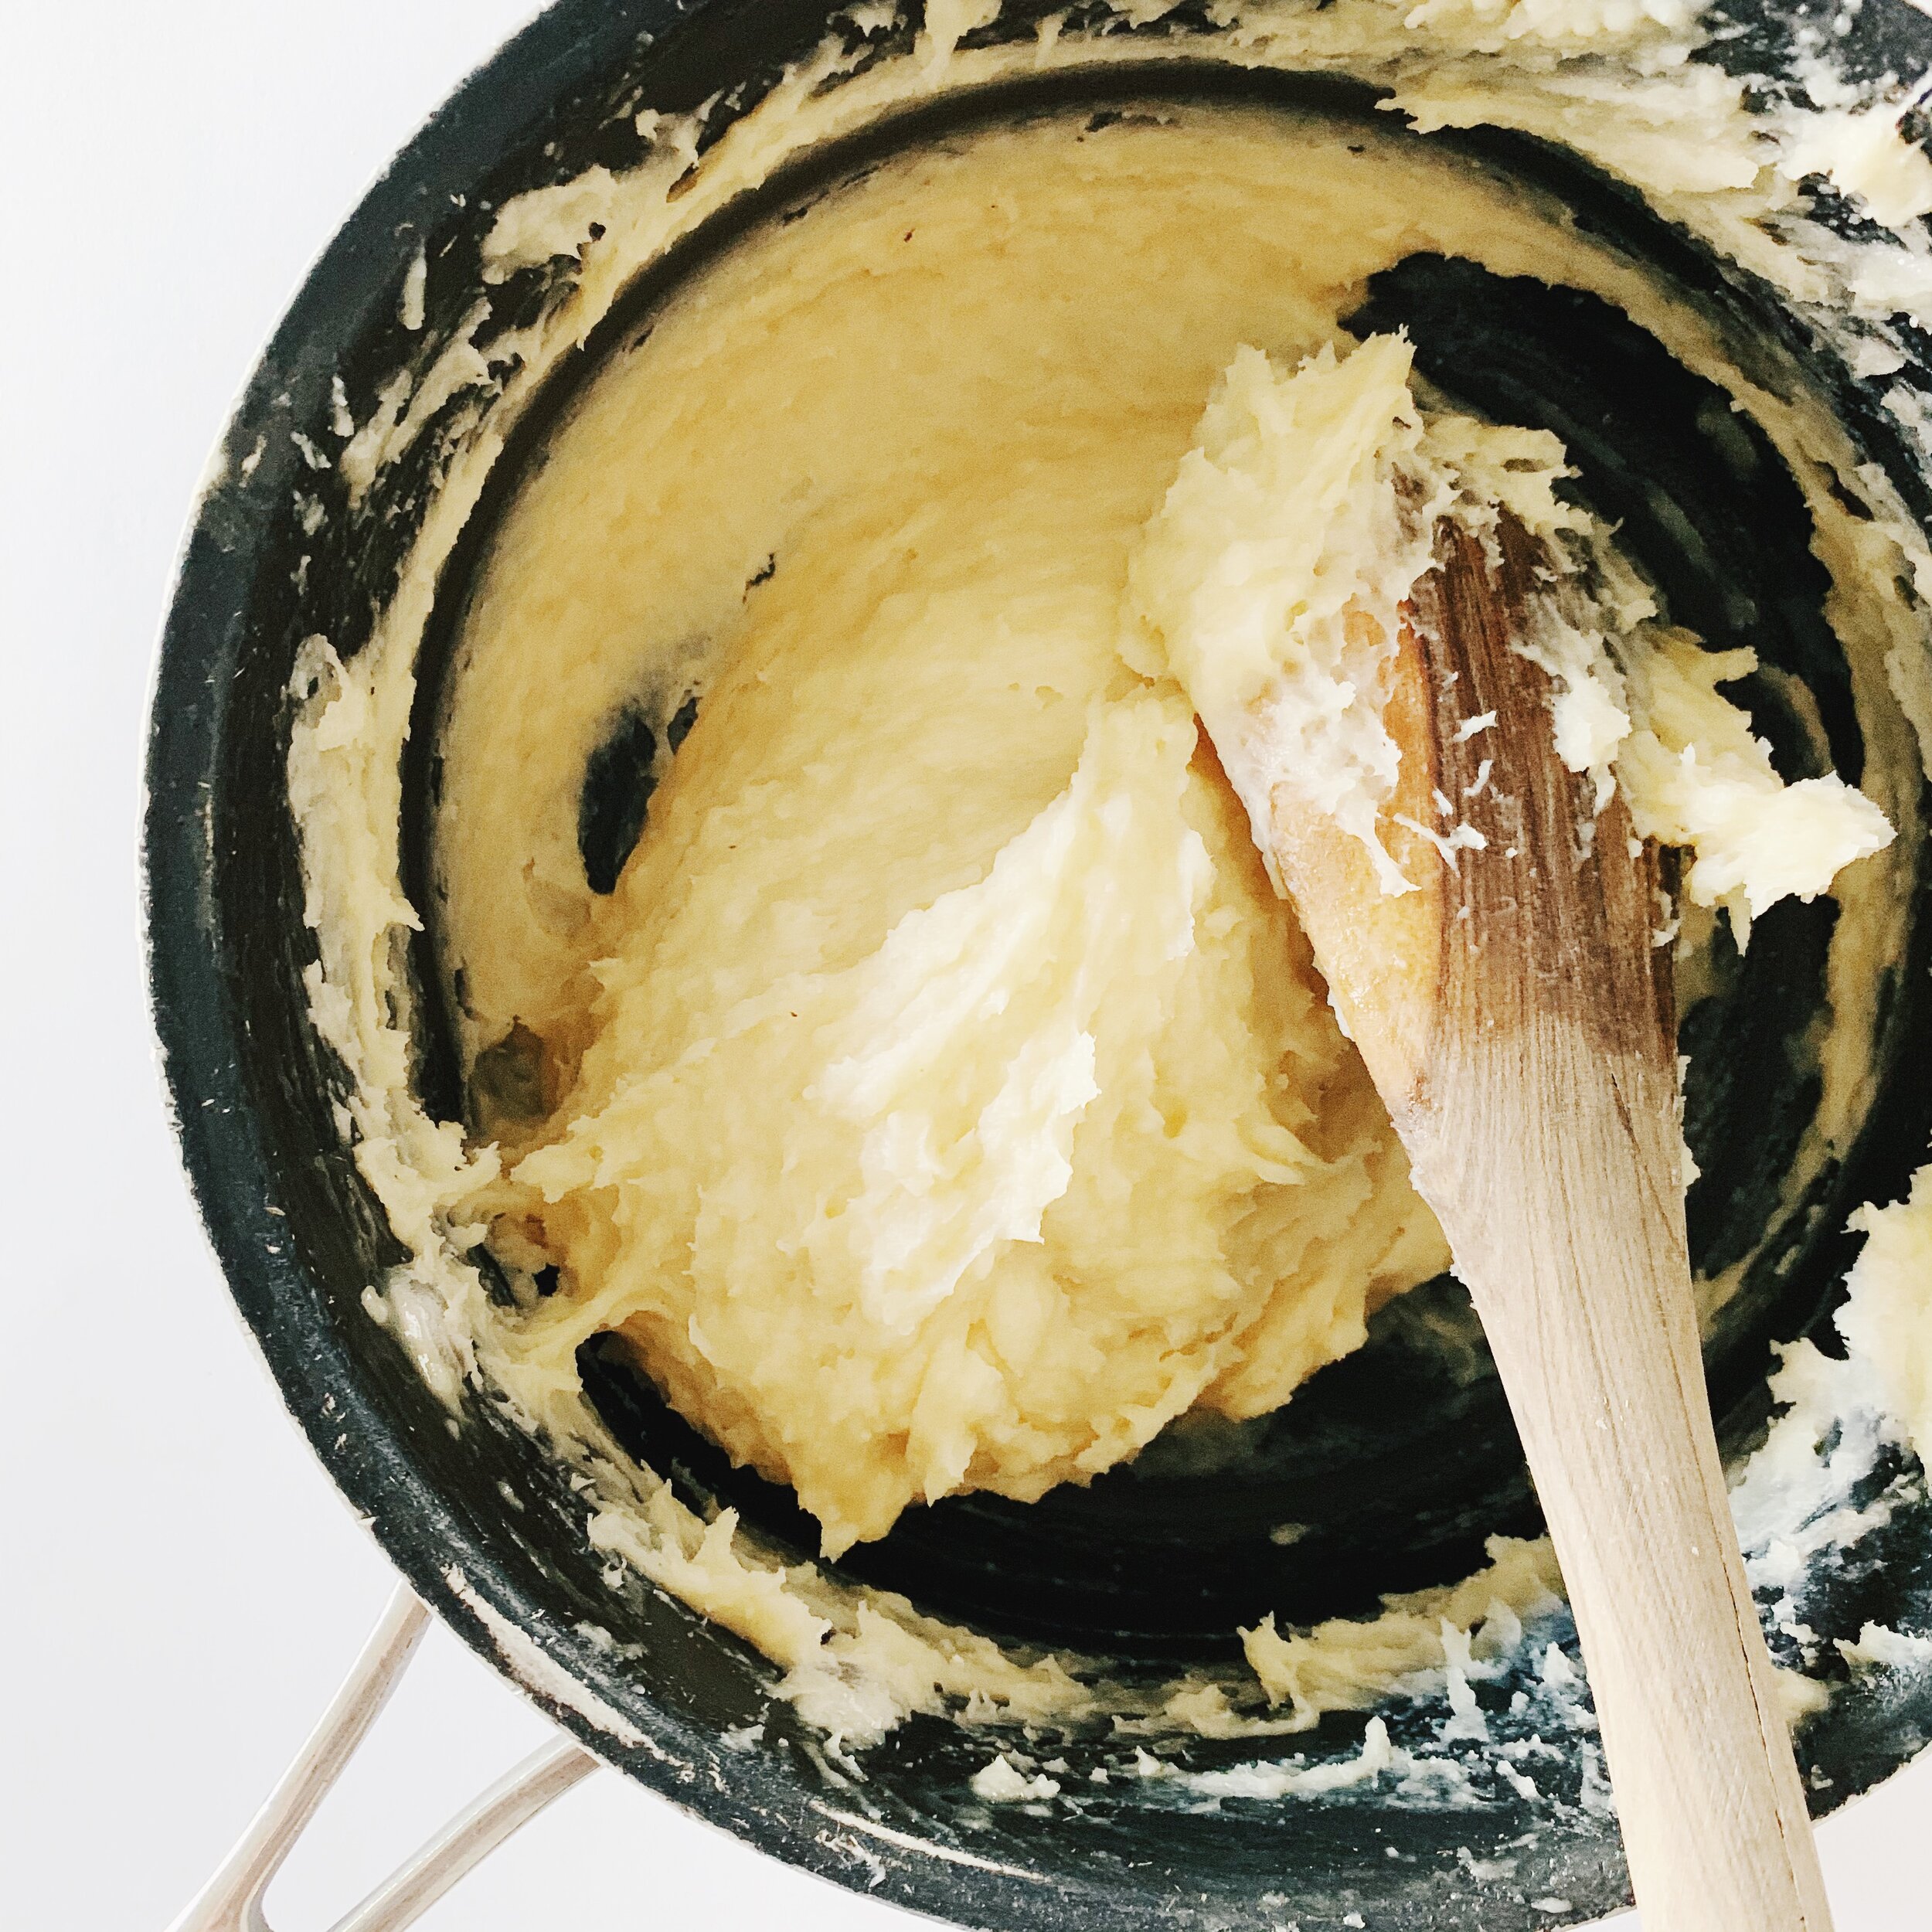
3. Remove pan from heat. Add whisked eggs and stir them in with a wooden spoon. This is the tough part because the eggs don’t really want to incorporate to the dough. Work your muscles and keep stirring…it will happen eventually.

4. Once incorporated, let the dough rest covered for 15 to 30 minutes.

5. Add dough to a piping bag with a star tip. 

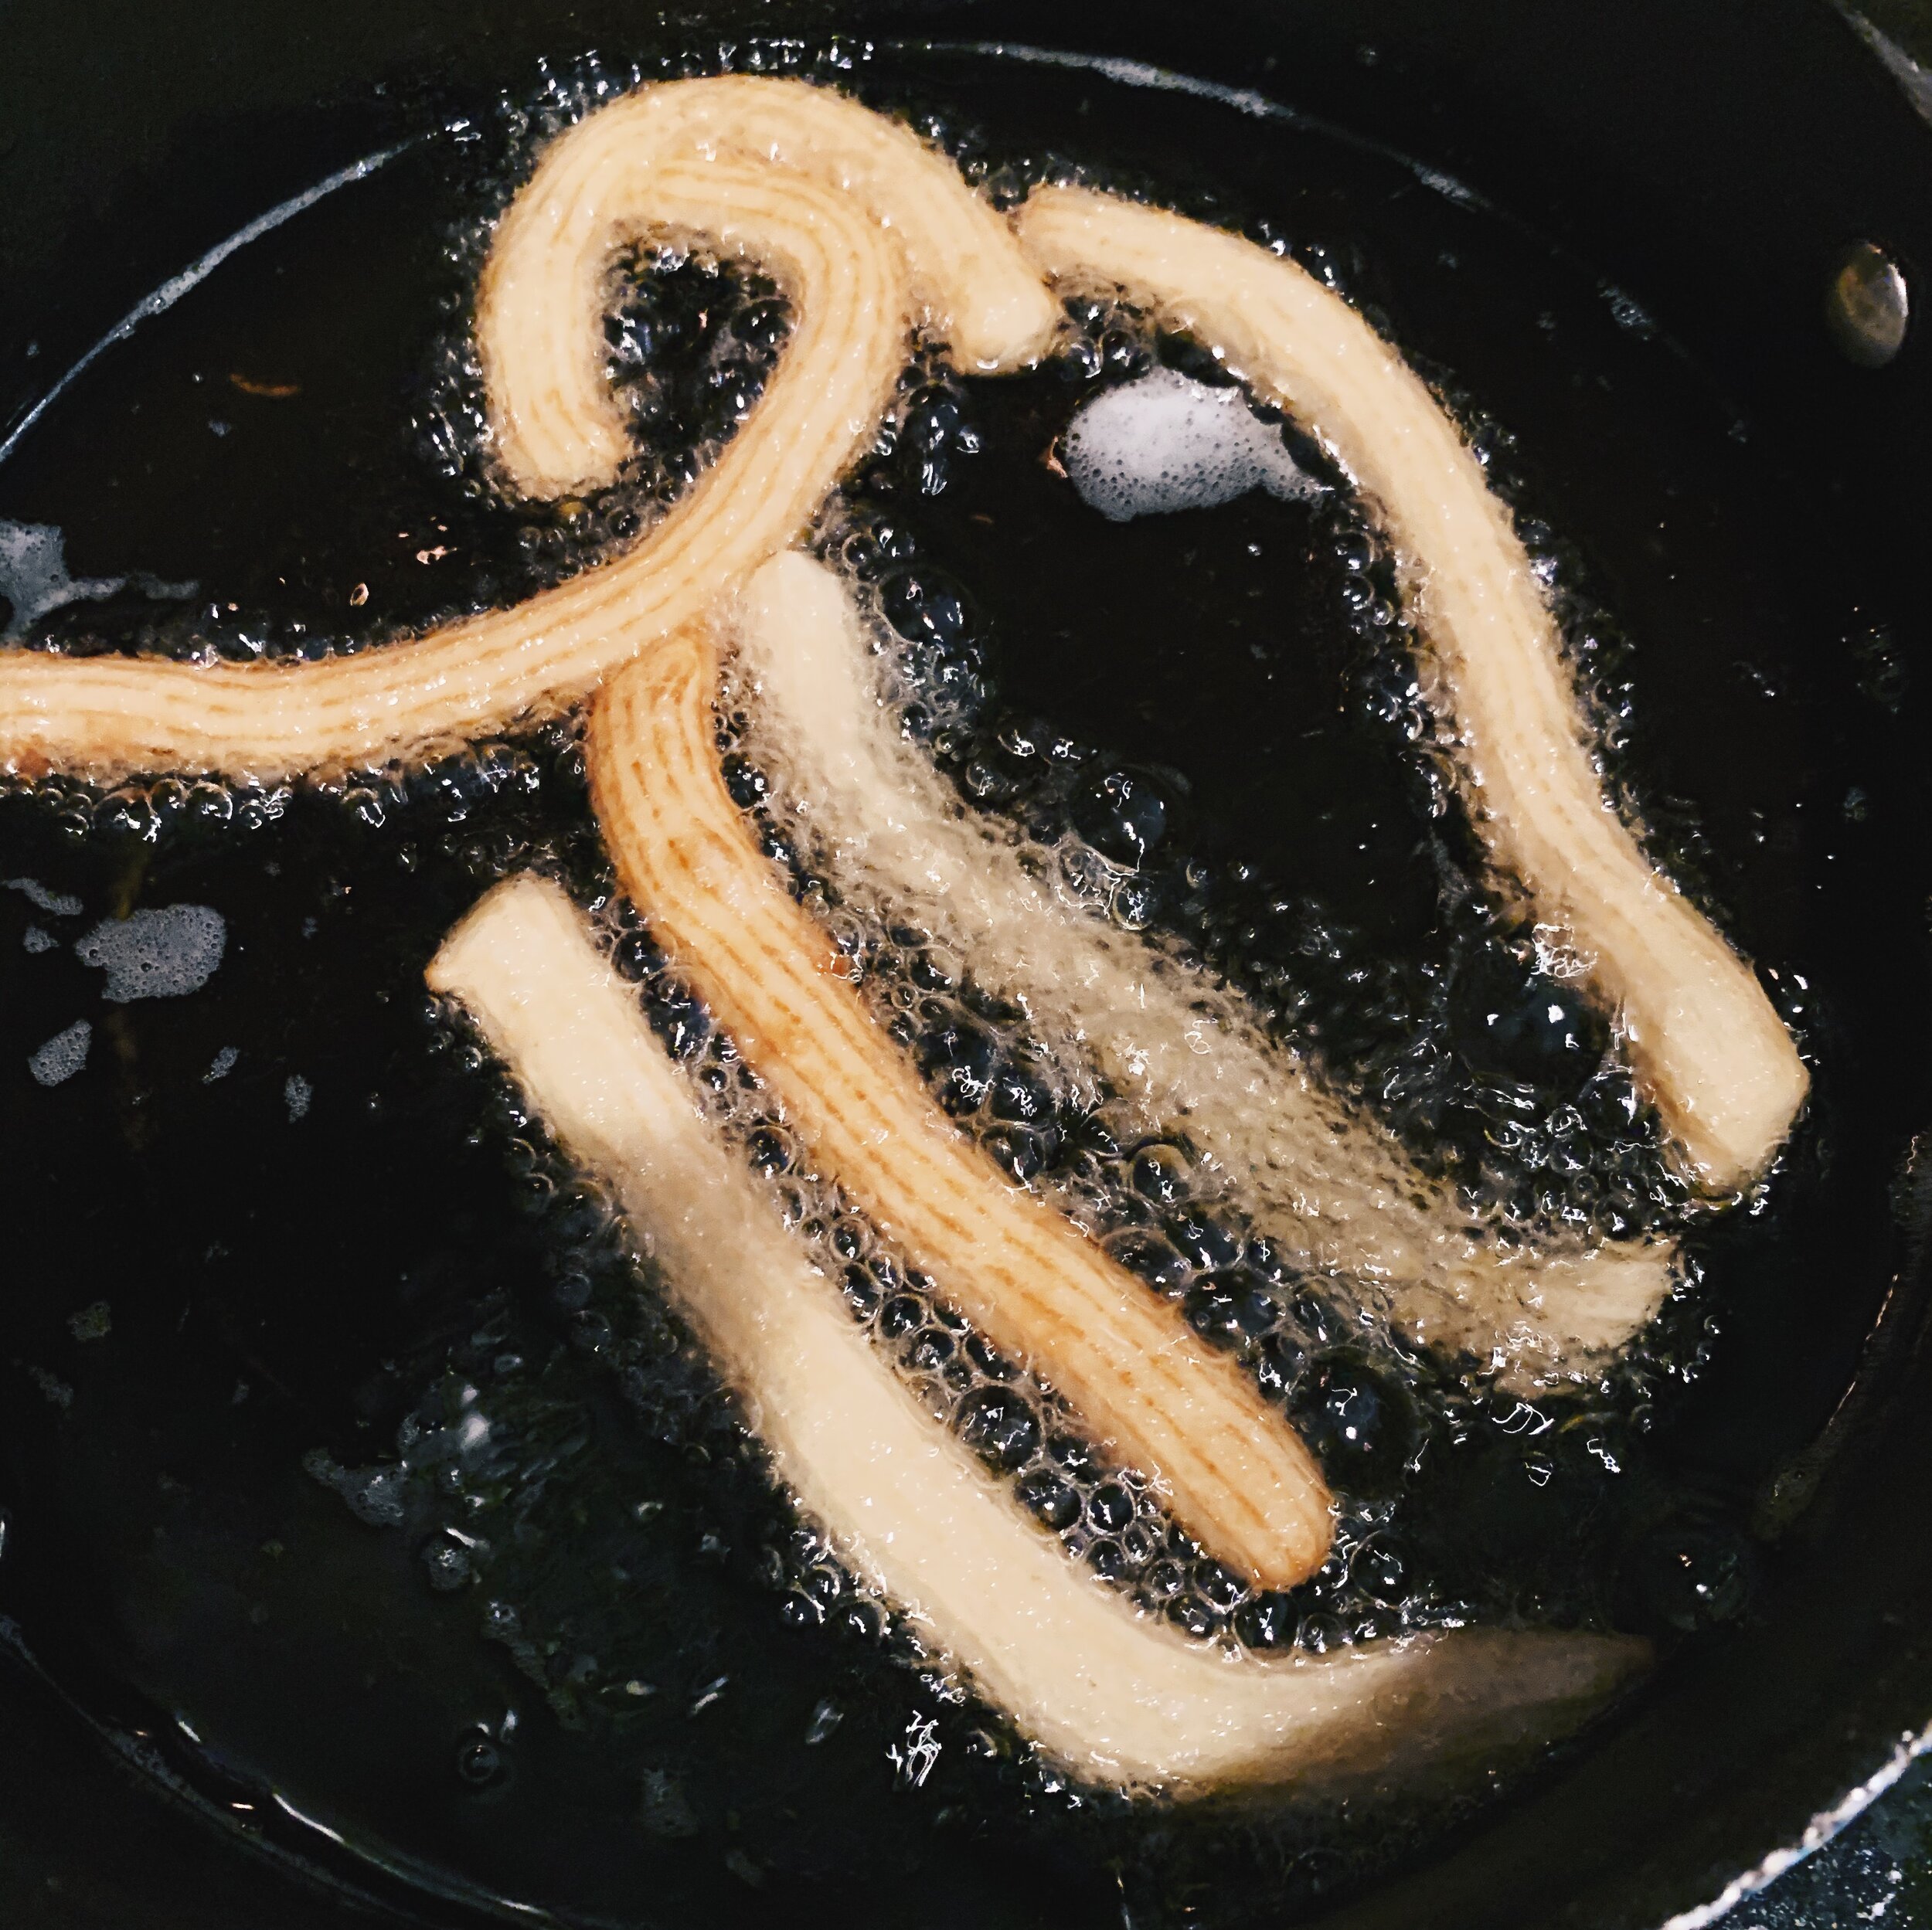
6. Heat your oil to 360 degrees. If the oil gets too hot, the churros will heat too quickly and start popping. (Which actually happened to me.)

7. Pipe in the dough. After a few minutes rotate in oil so they fry evenly. Rotate a few times to make sure they cook evenly.

8. Let churros sit and cool, then roll in sugar and cinnamon when ready to eat.

9. Eat!

IMG_4615.JPG

Ok, now if you do try making churros, please share with me. It would make me so happy to see someone’s successful churro batch. We like to roll in cinnamon and sugar. But we also dip in chocolate, cajeta, or strawberry jelly. What’s your favorite way to eat a churro?

Ok well, now that I’ve written the blog, I need to make another batch because these pictures are making my mouth water.


SIGN UP

Join the mailing list to be the first to know when there's a new collection launch, exclusive promotions, blog posts, and to get a behind-the-scenes look as Karina travels to capture work for new print offerings.

FoodKarina Metts
Cascarones | Traditions
 
Cascarones-Easter-Mexico-karinamora-3.jpg
 

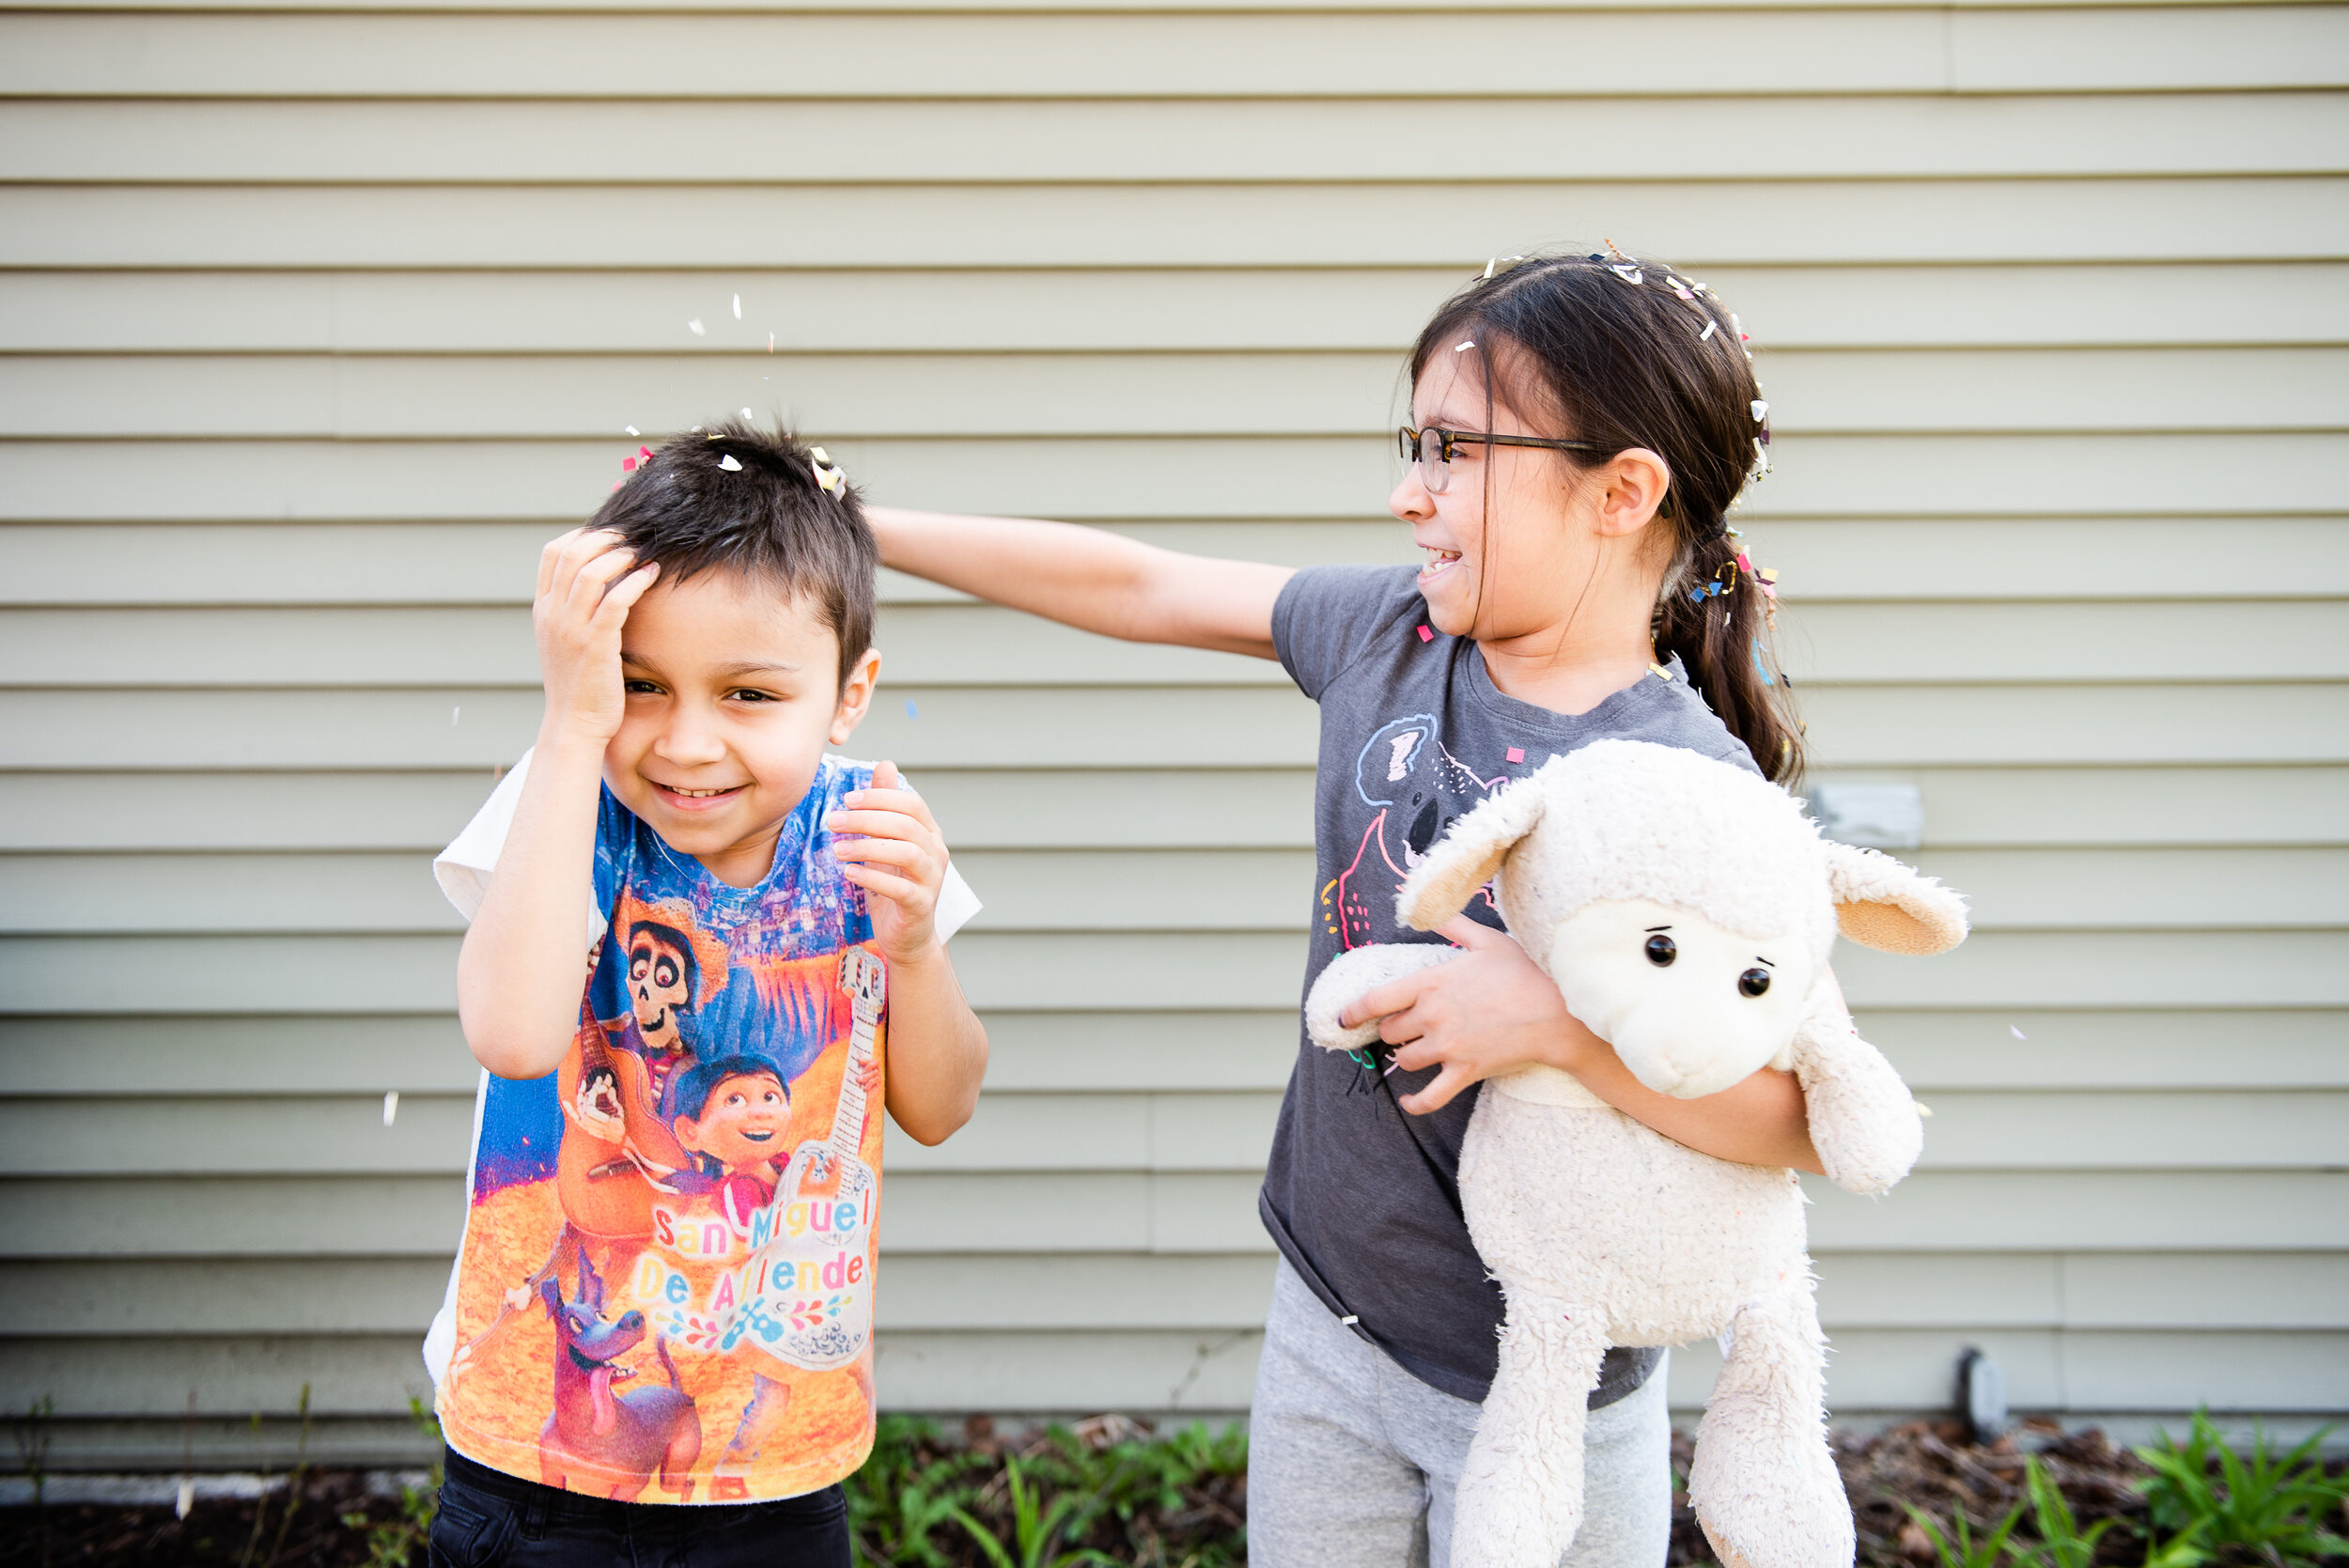
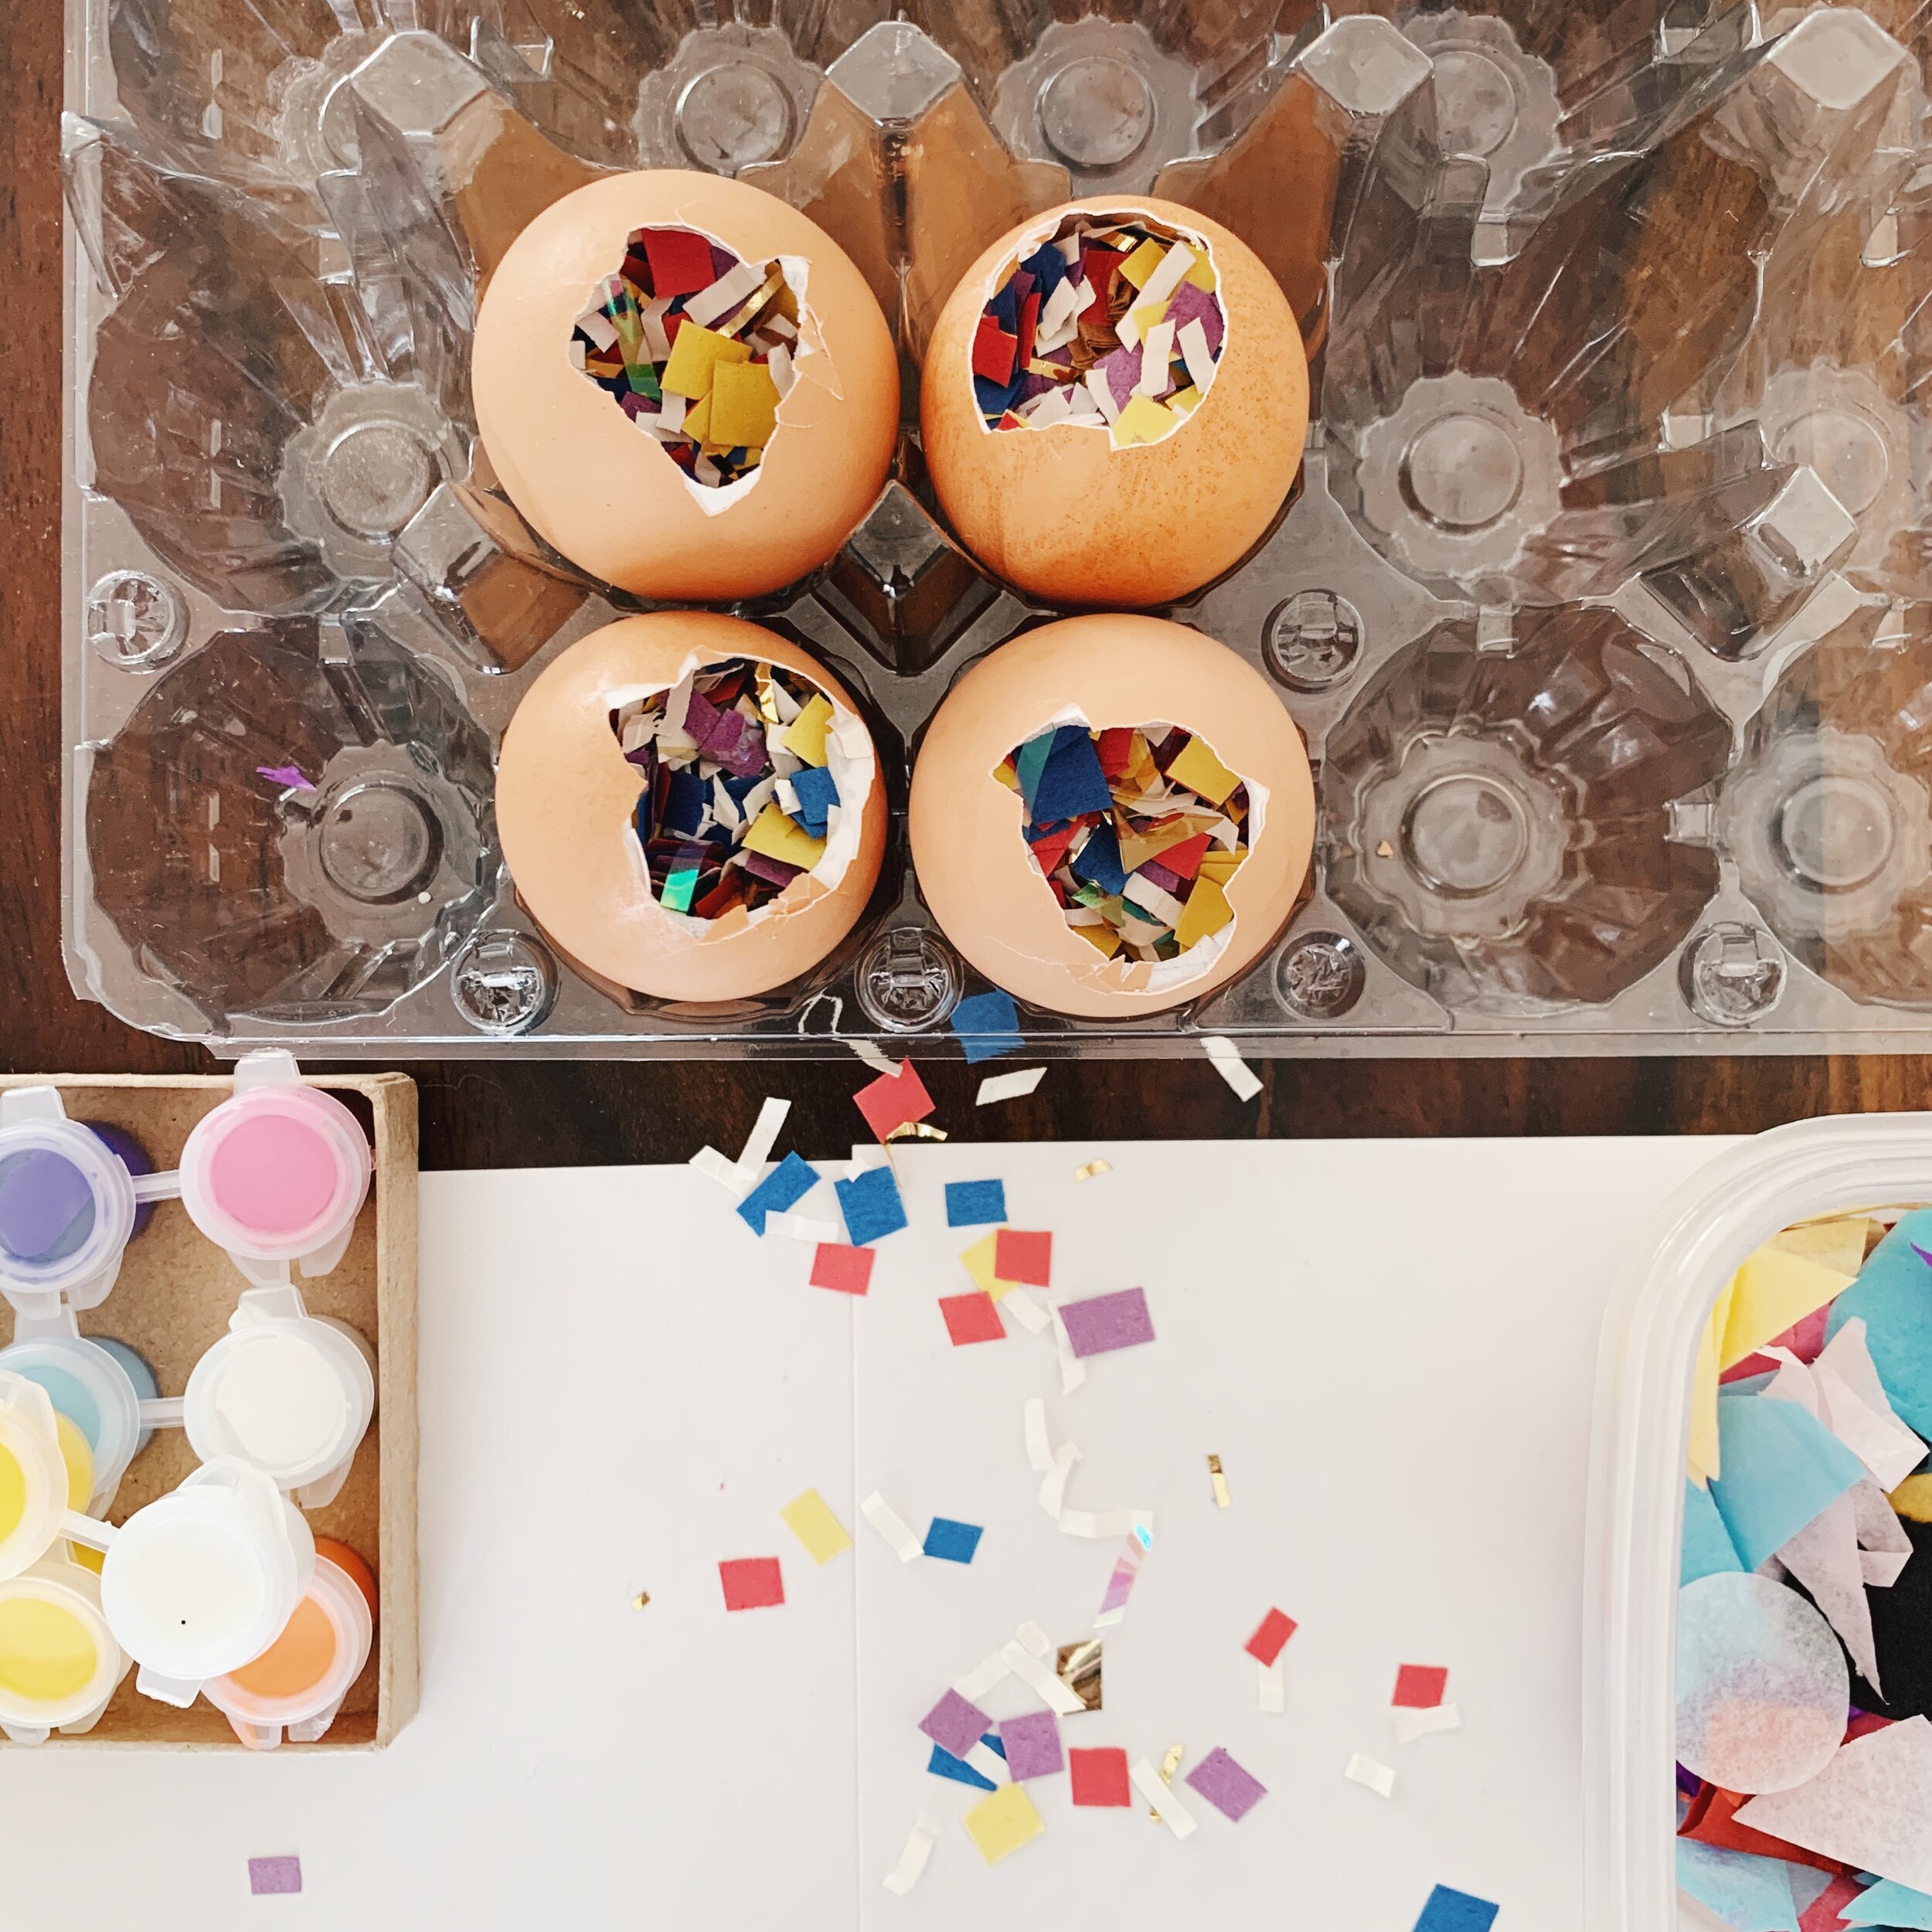
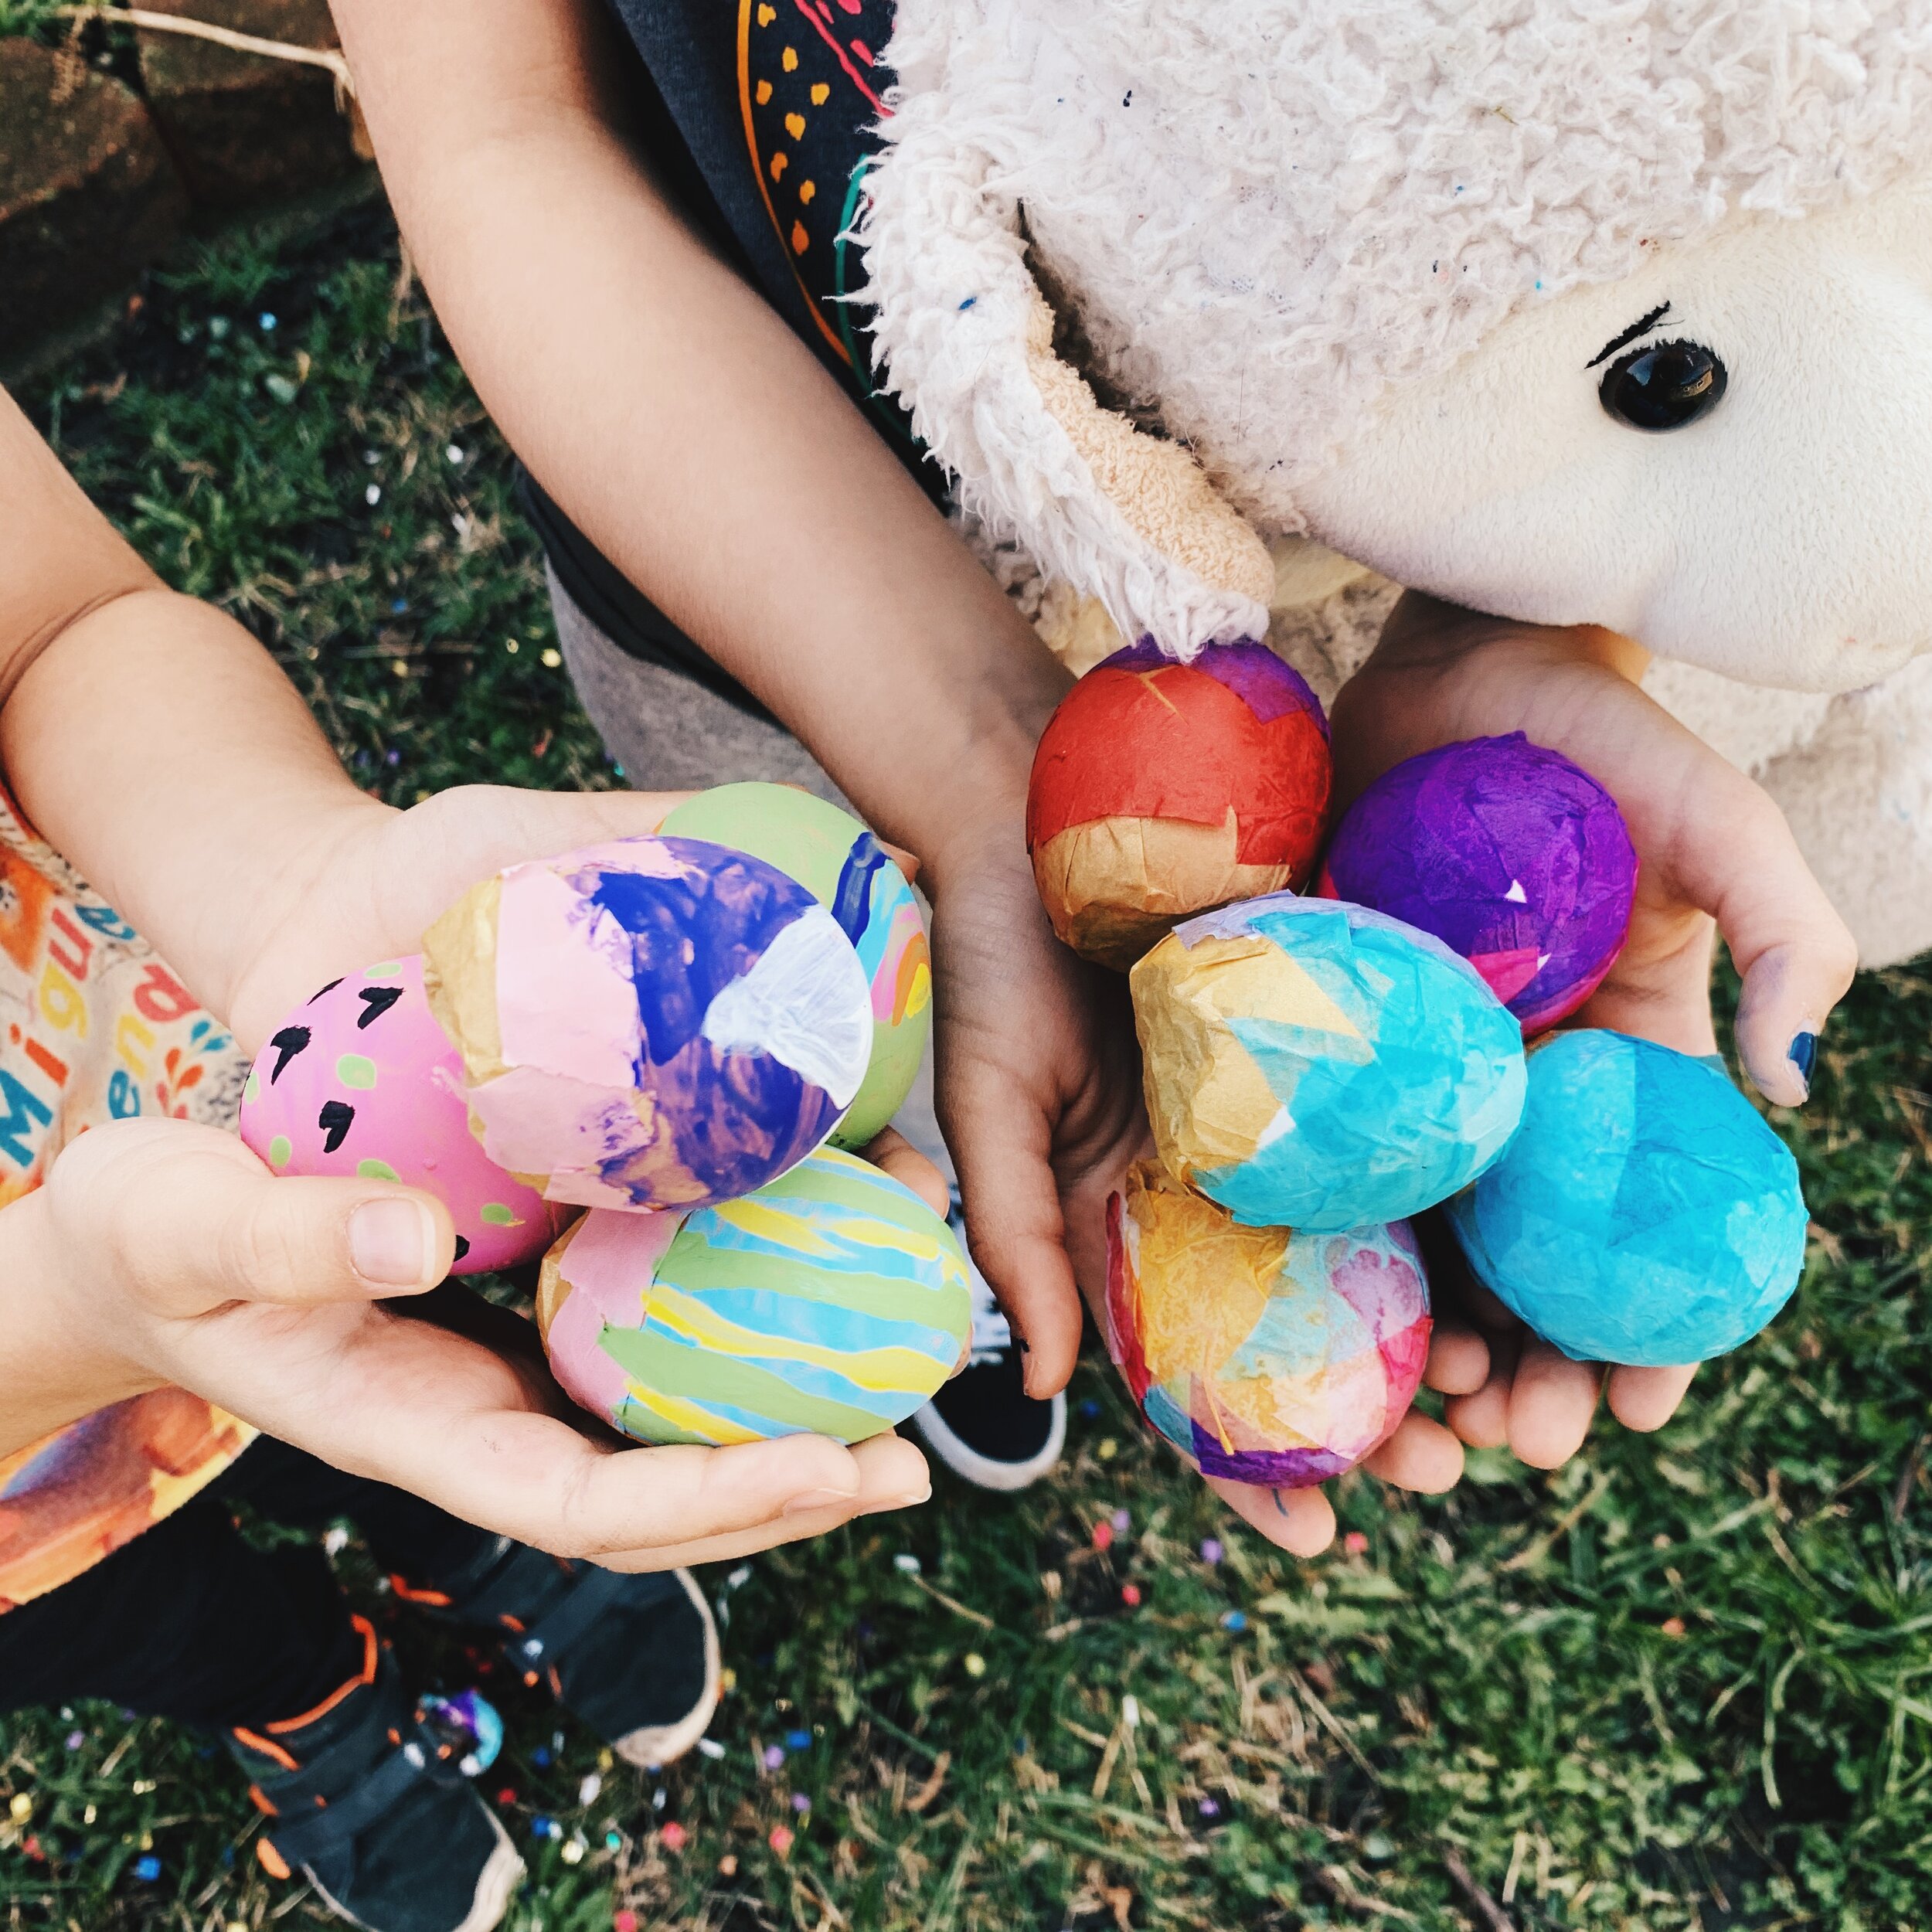
This is our first time as a family making cascarones for Easter. Cascarones are confetti-filled egg shells. (Cascara means egg shell in spanish) Usually during Lent, you can start collecting shells to fill and decorate. Two years ago, I brought a big bag home from Mexico and we all had a great time cracking them. So this year, since we are home and I’m looking for different activities for us to do, I decided to make our own! The past weekend we started filling and decorating our shells.

One option to decorate the eggs is to dye the eggs before cracking them, like you would do for Easter with hard boiled eggs. But I didn’t have any of the materials to dye eggs, so I just decided to decorate the shells after we filled them.

Here’s what we did:

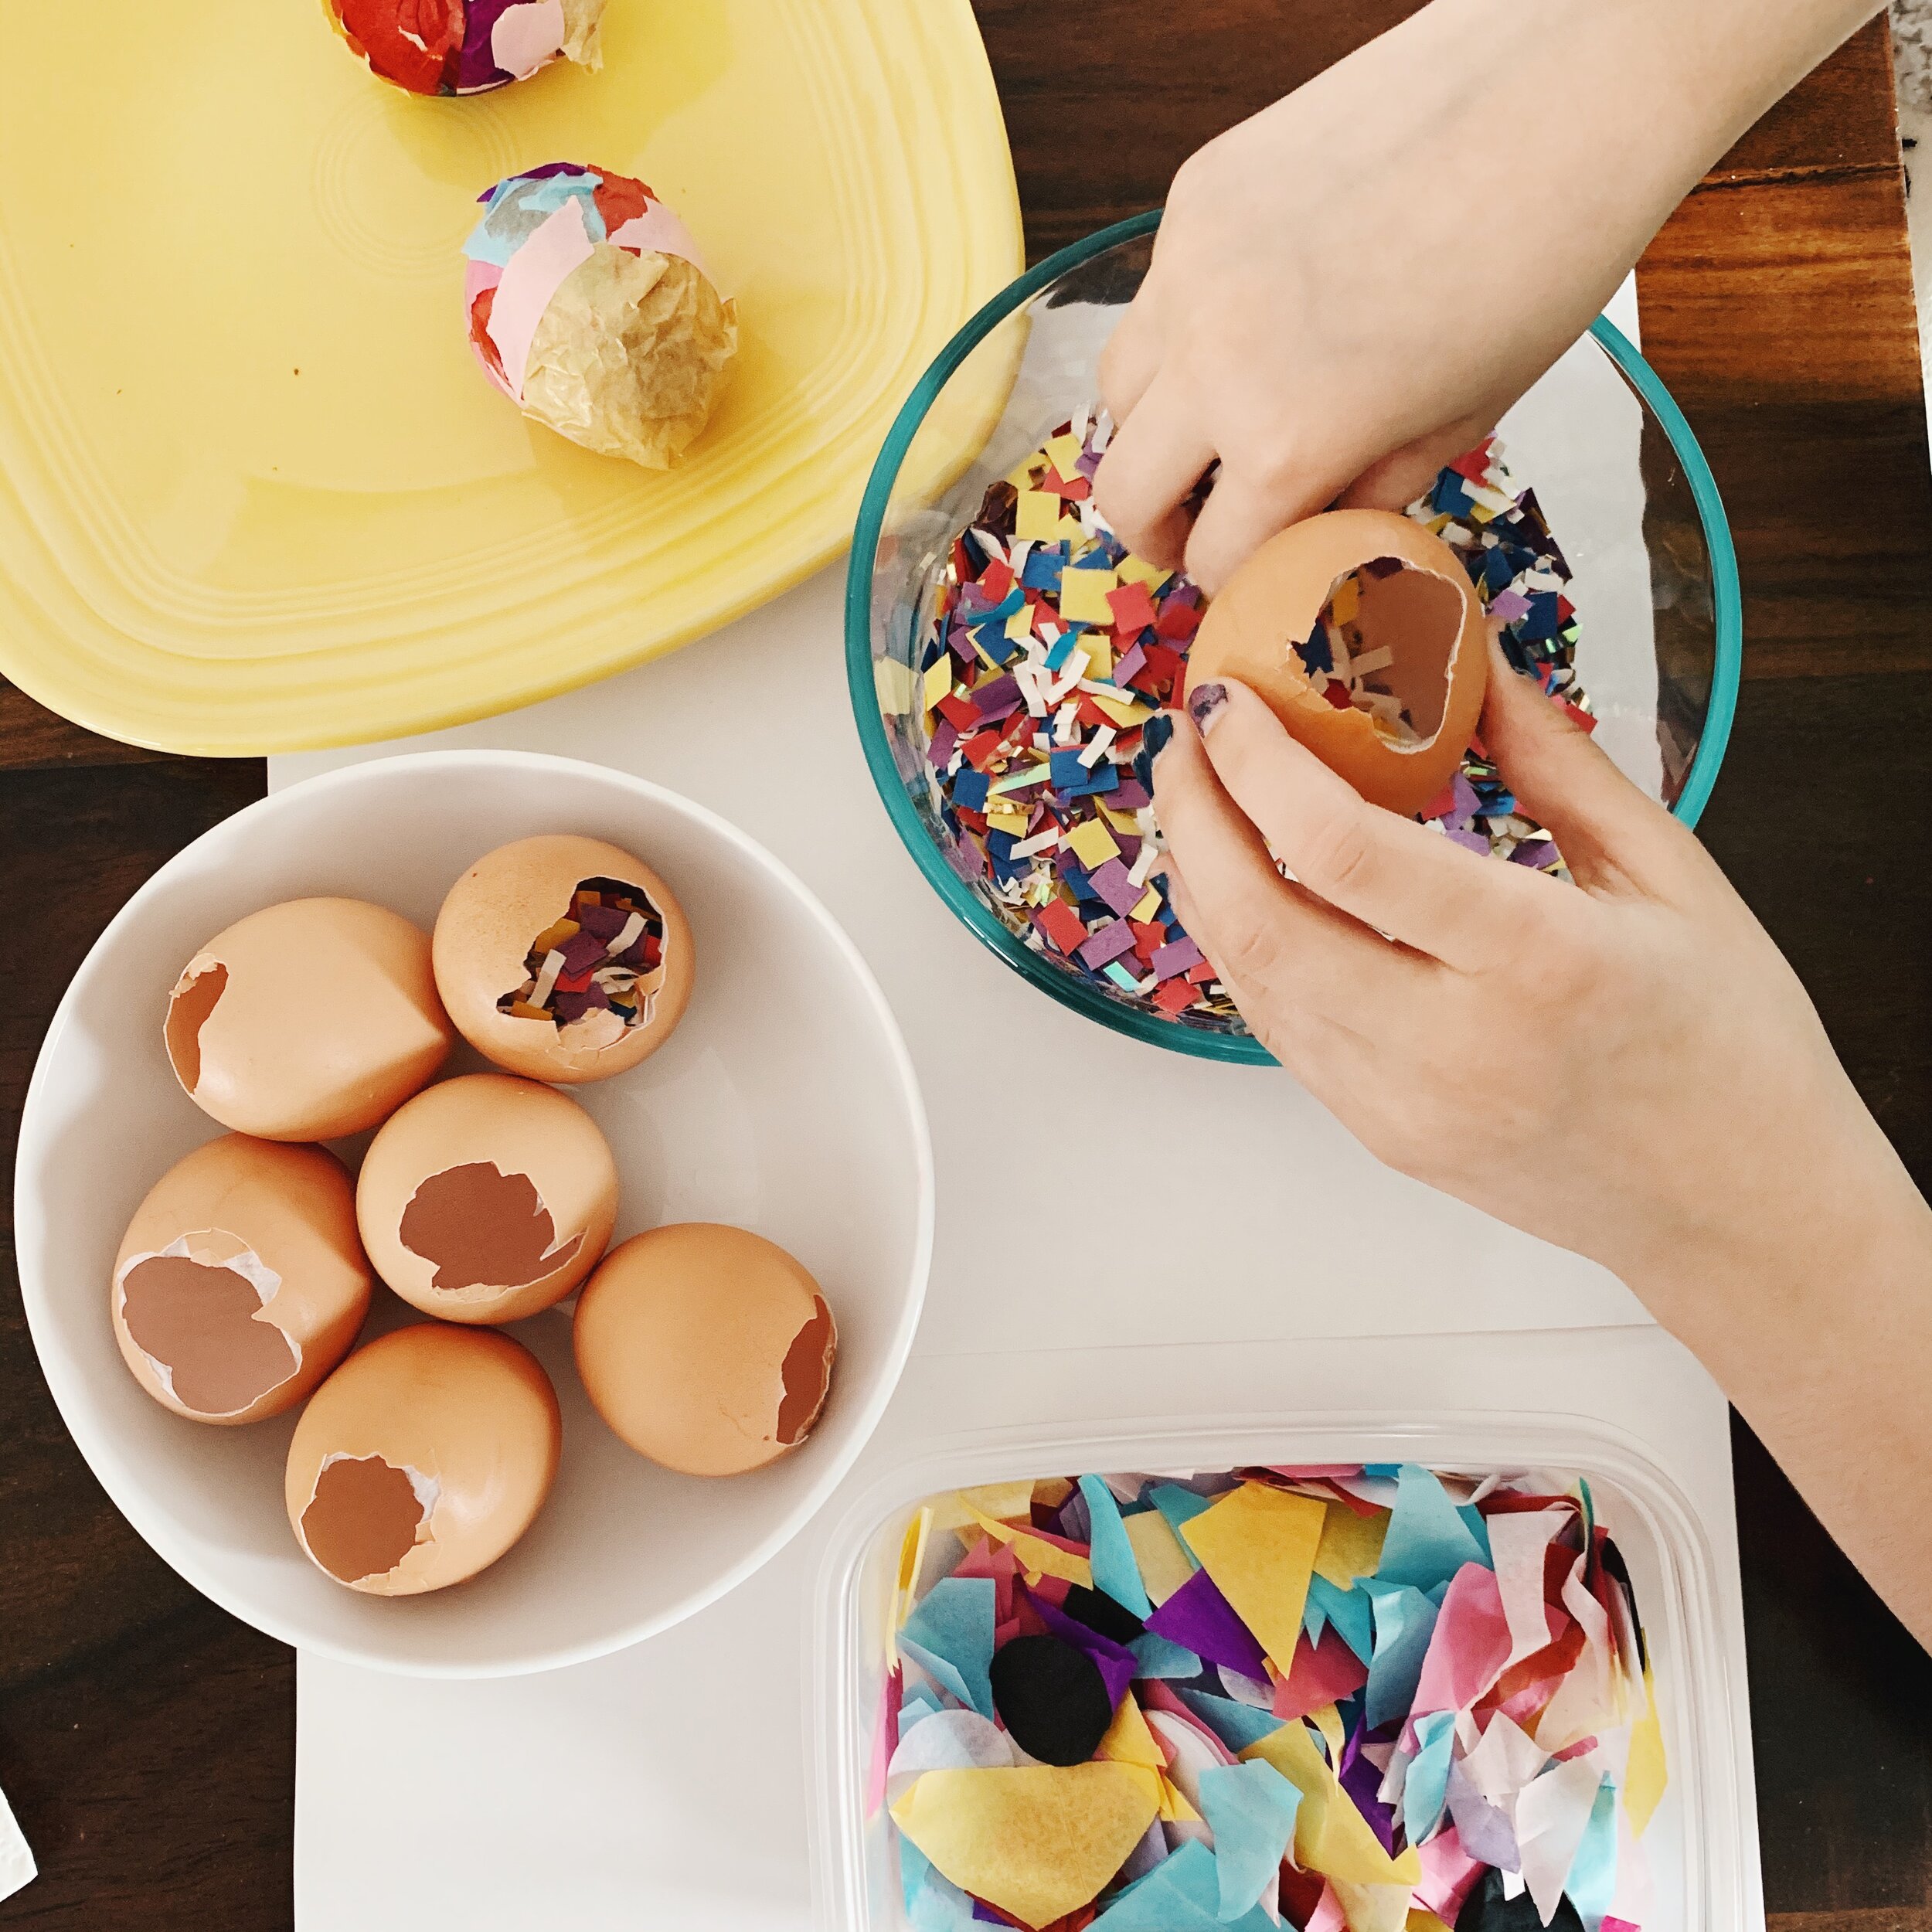
  1. Collect egg shells, and clean them out. (You have to crack the top carefully and let the eggs ease out of the little hole)

  2. Let the shells dry, it usually takes a day for it to fully dry after cleaning them out.

  3. Gather your materials - confetti, tissue paper, glue/modge podge, paints, markers, anything else you have in your home to decorate.

  4. Fill with confetti, which was just cut up construction paper.

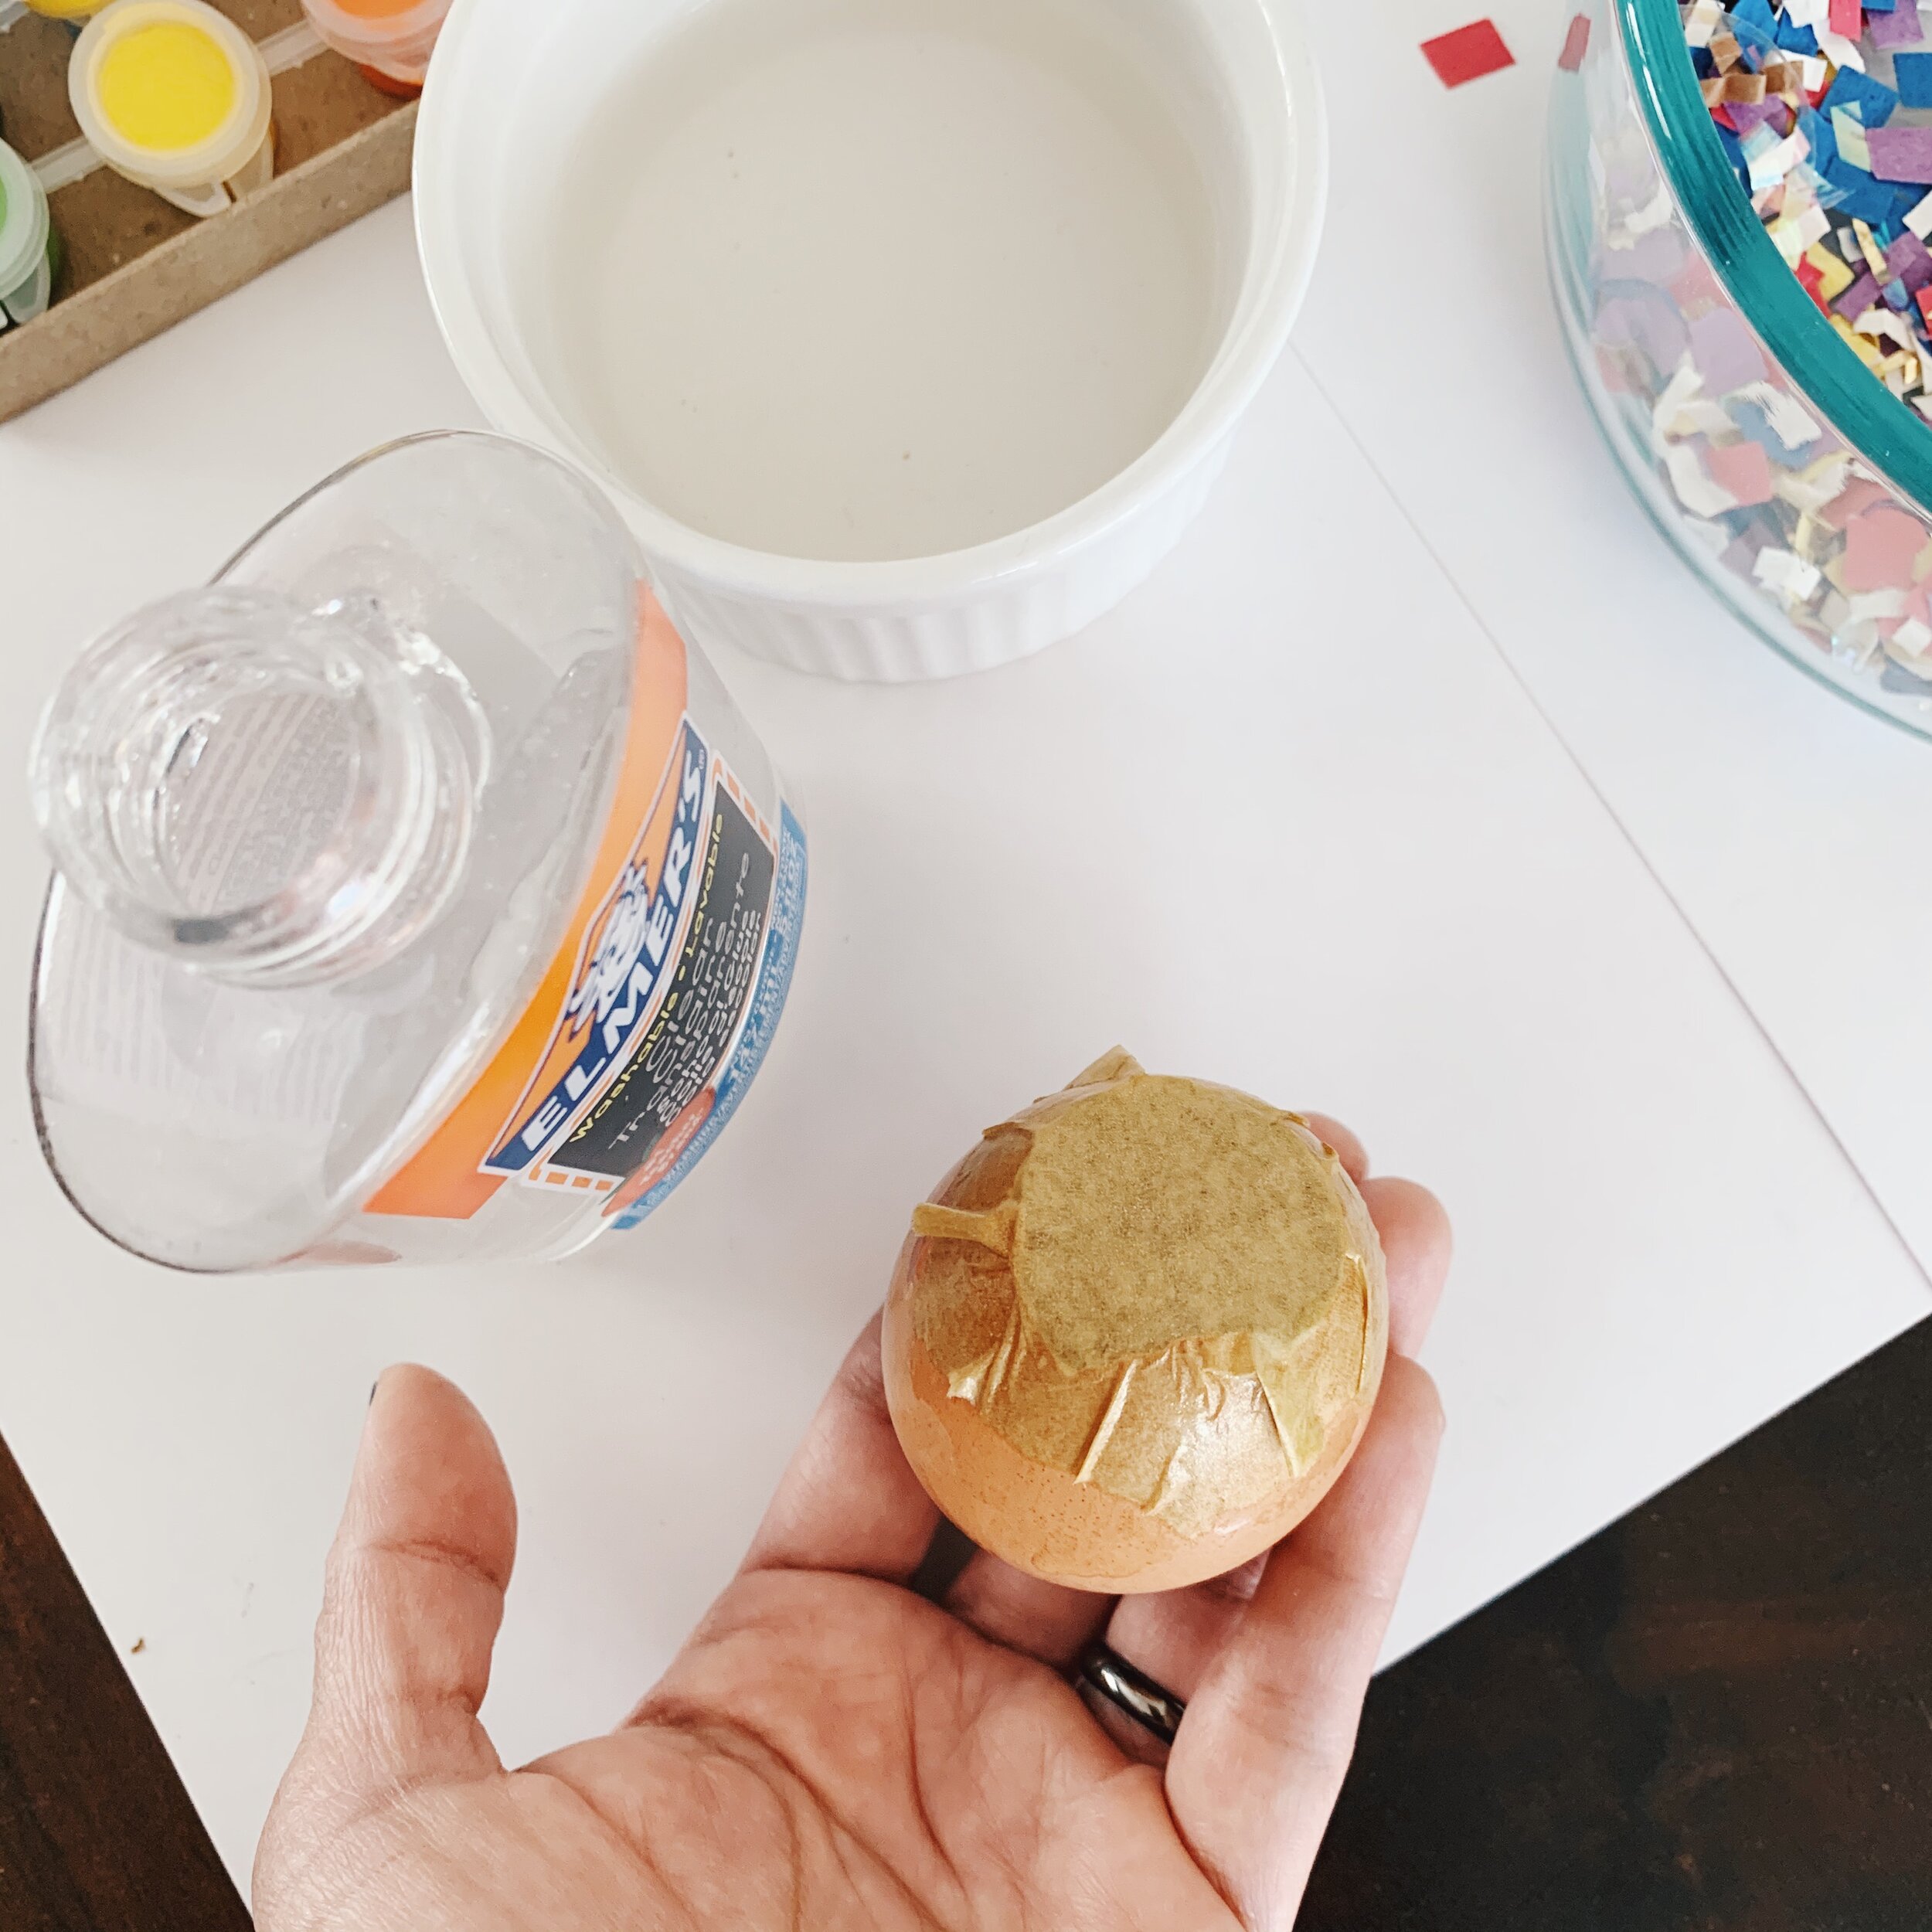
  5. Glue a piece of tissue paper over the open hole. You can use modge podge if you have it, but I just mixed some glue and a little water and painted it on.

  6. Decorate! We tried a few different things, We painted some of the eggs with extra paint I found. We also used tissue paper to cover some eggs using the water/glue mixture. If you don’t have glue you can use washi tape too. This was the fun part, and I let the kids choose how they wanted to decorate their eggs and had a nice afternoon of creating.

  7. Let the eggs dry.

  8. Break them over each others heads for celebration!

    * I did notice that the eggs that were painted were a little easier to crack over your head than the ones with glue and tissue paper.

We still have a few days before the weekend, so I’ll probably save more shells over and decorate more on Friday. This year we’re going to crack them on Saturday for Elias’ birthday. His birthday is the day before Easter this year, and since we’re not able to host a birthday party for him, this is one thing he can look forward to. So start collecting your eggs shells! I’d love to see if you make these too, so comment below, or send me a picture via instagram or facebook!


SIGN UP

Join the mailing list to be the first to know when there's a new collection launch, exclusive promotions, blog posts, and to get a behind-the-scenes look as Karina travels to capture work for new print offerings.